Appearance
Chapter I: The Awakening
Paradise Cove was always meant to be safe. Long before its walls had names, a wandering people — the Hen Ichaer — forged a relic called The Tablet: not a weapon, but a safeguard, a quiet aura that let nature and settlement live side by side. For a time, it held. Then the Cove grew, greed outweighed restraint, and the Tablet shattered. Its fragments were stolen and sealed deep underground. Now the giant bees press closer every season, and the hum gets louder. You arrive a nameless newcomer. By the end of this chapter, you'll be the Cove's new watcher.
This is the full walkthrough for Chapter I — every quest in order, who to talk to, where to go, what to do, and what you earn. Each quest also teaches you a part of the server, so following the story is the fastest way to learn how everything works. Stuck on a step? Find it below.
How the questline flows
Talk to the highlighted NPC, follow the objective at the side of your screen, and return when it's done. Each quest hands you to the next NPC automatically. After the finale, play freely for ~30 minutes and the next chapter will reach out to you.
Quick Reference
| # | Quest | Talk to | What you do | Key reward |
|---|---|---|---|---|
| 1 | A Warm Welcome | Jason | Get welcomed to the Cove | Hatchling Kit, 1,000 Gold |
| 2 | City Planning | Kieran | Deliver a letter to Alfred | 1,200 Gold, 5 Nectar |
| 3 | Getting Buzzy | Alfred | Take a job, return | 1,400 Gold, 5 Nectar |
| 4 | Banking on Bees | Beatrice | Bank your Gold | 1,500 Gold, 10 Nectar |
| 5 | Aura Farming | Elias | Open /skills, pick a path | 1,600 Gold, 10 Nectar |
| 6 | Path of the Farmer | Adam | Farming Lv3, rank to Farmer, 16 bone meal | 2,800 Gold, Common Key |
| 7 | The Badger's Mark | The Badger | Hear him out | 1,600 Gold, 1 JartonCoin |
| 8 | Honey on the Market | Charlotte | Sell on /ah | 1,700 Gold, 20 Nectar |
| 9 | Civic Duties | Kieran | Help 3 Cove workers | 1,800 Gold |
| 10 | Miner's Rhythm | Cody | Mine 64 cobblestone | 1,800 Gold, Refined Pickaxe |
| 11 | Lumber Order | Colt | Chop 64 oak logs | 1,900 Gold, Quicksplit Axe |
| 12 | Path of the Wanderer | Alfred | Rank up to Wanderer | 3,200 Gold, Common Key |
| 13 | Defend the Wall | Silas | Survive 3 waves at the wall | 2,000 Gold, 25 Nectar |
| 14 | Defend the Cove | Silas | Repel the invasion, douse fires | Medal of Courage, Honed Edge |
| 15 | Hero's Admiration | Kieran | Show Kieran the medal | 1,300 Gold |
| 16 | Honeycrisp Bakery | Iris | Bring 10 wheat, 2 eggs, 1 milk | Super Cake, 1,600 Gold |
| 17 | Path of the Explorer | Alfred | Rank up to Explorer | 4,400 Gold, Common Key |
| 18 | Builder's Grace | Vaise | Place 250 blocks in your claim | 2,000 Gold |
| 19 | Angler's Peace | Carlos | Catch 20 cod or salmon | Covecaster rod, 2,000 Gold |
| 20 | Scholar's Request | Jason | Collect 5 scattered papers | Myra's Journal, 2,200 Gold |
| 21 | Scholar's Analysis | Felix | Question Felix, carry a parcel | 2,400 Gold, 1 JartonCoin |
| 22 | Truth Awakens | Kieran | Deliver the parcel | Lore book, 3,000 Gold |
| 23 | The Weight of What Remains | Silas | Hear the truth, take the key | 1,900 Gold, 15 Nectar |
| 24 | The Deep Dark | Macrinus | Clear the Abandoned Mine, recover the Fragment | Ancient Fragment + Chapter complete |
The Walkthrough
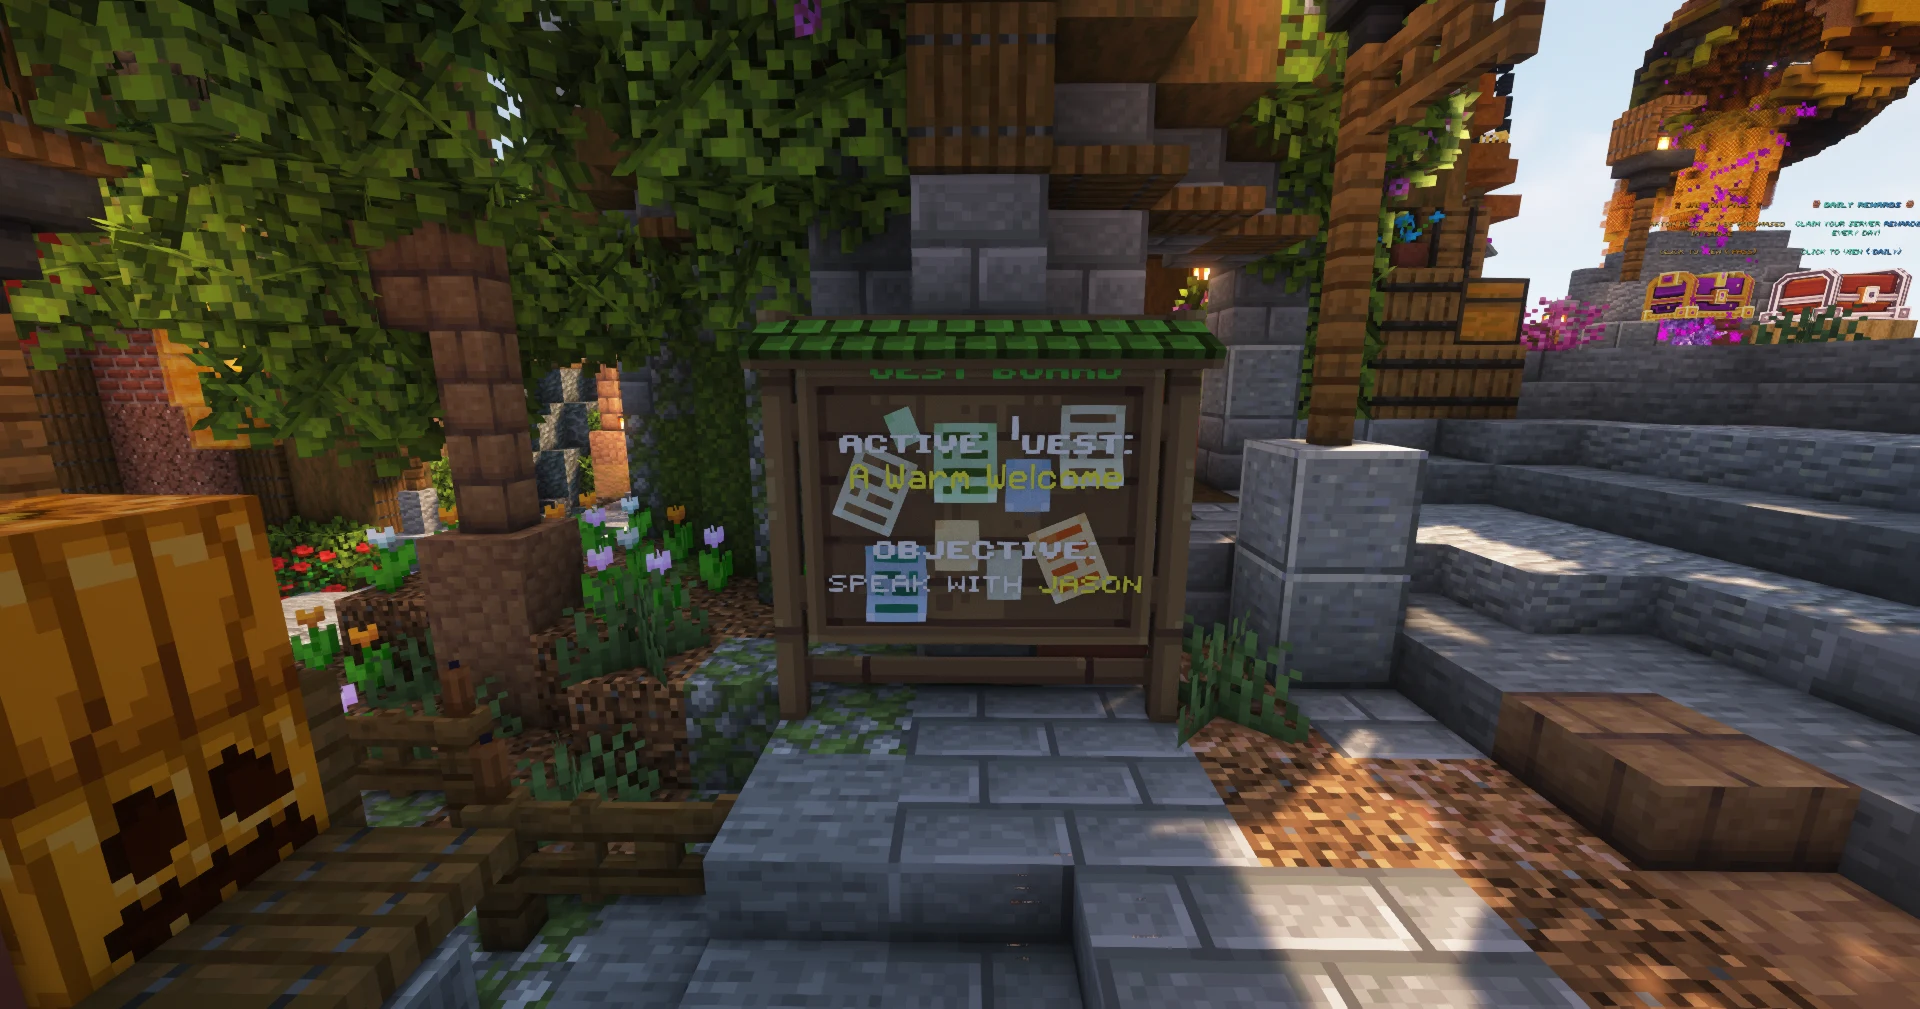
Q1 · A Warm Welcome
Who & where: Jason — his voice calls from inside Jason's House at spawn.
A man steps out, arms full of books. He saw you arrive — most settlers stride off the docks straight for the trees, eager to mine and claim and build. They see opportunity. But this Cove has a past that never quite stayed hidden, and if you're going to survive here, you deserve to understand what you've stepped into. He gets you settled and waves Kieran over.
What to do: Talk to Jason and follow him in. He hands you off to Kieran.
Rewards: Hatchling Kit · 1,000 Gold · 1 JartonCoin
You start as a Hatchling
Every player begins at the bottom rank, Hatchling, and climbs from there. JartonCoins are your Battle Pass currency — bank them.
Q2 · City Planning
Who & where: Kieran, the city planner.
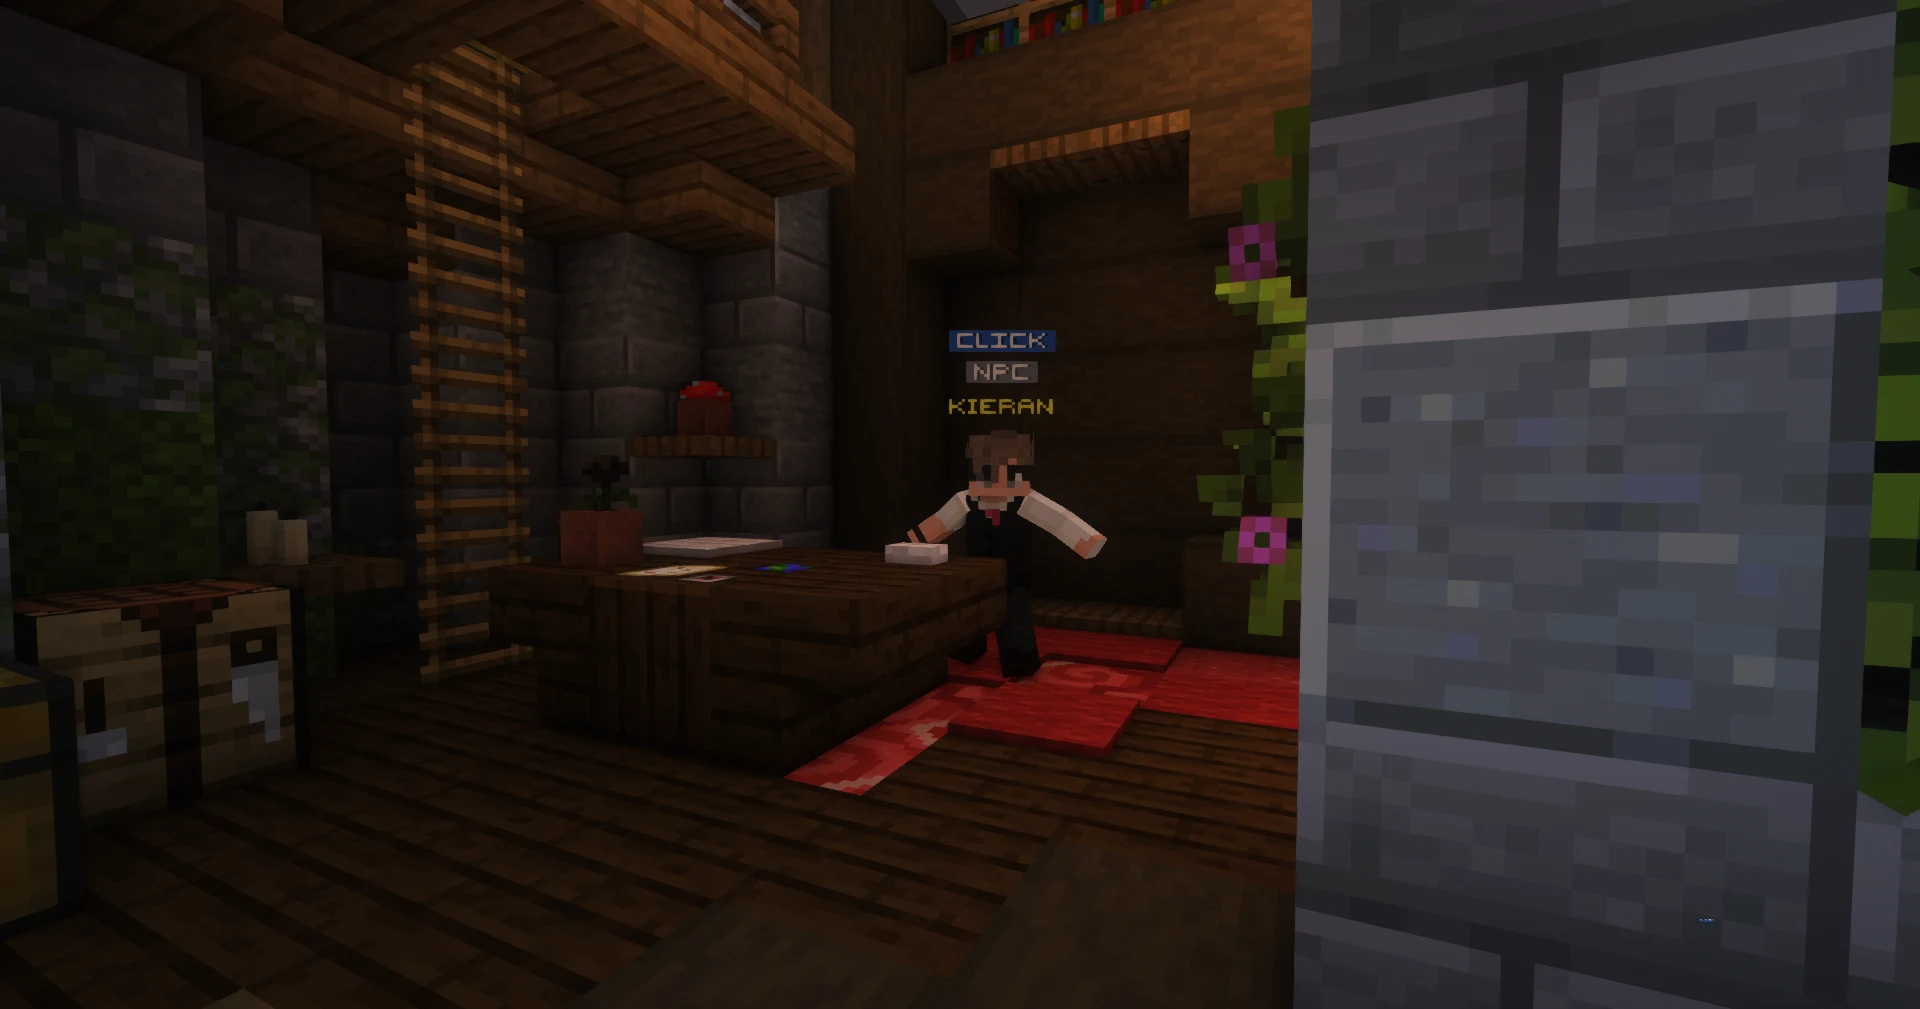
"You're new to the Cove, right?" Out here there's strength in numbers, so instead of claiming wild land alone, you join a town and build something together. As you adventure you climb the ranks — and once you reach Wanderer, you can found your own town. He needs a letter taken to Alfred. (And don't ask about the map — the little ones think it's funny to mess with it.)
What to do:
- Take Kieran's envelope.
- Deliver it to Alfred at the apple stand.
Rewards: 1,200 Gold · 5 Nectar
Feature: Towns & Ranks
Join a town the moment you're a Hatchling. Use /rankup to climb — each rank grants real perks (more homes, more claim space, new commands). At Wanderer you can create your own town with /town create, go solo or invite friends, and share the land.
Q3 · Getting Buzzy
Who & where: Alfred, the apple seller. "Apples, apples, apples — come and get 'em while they're fresh!"
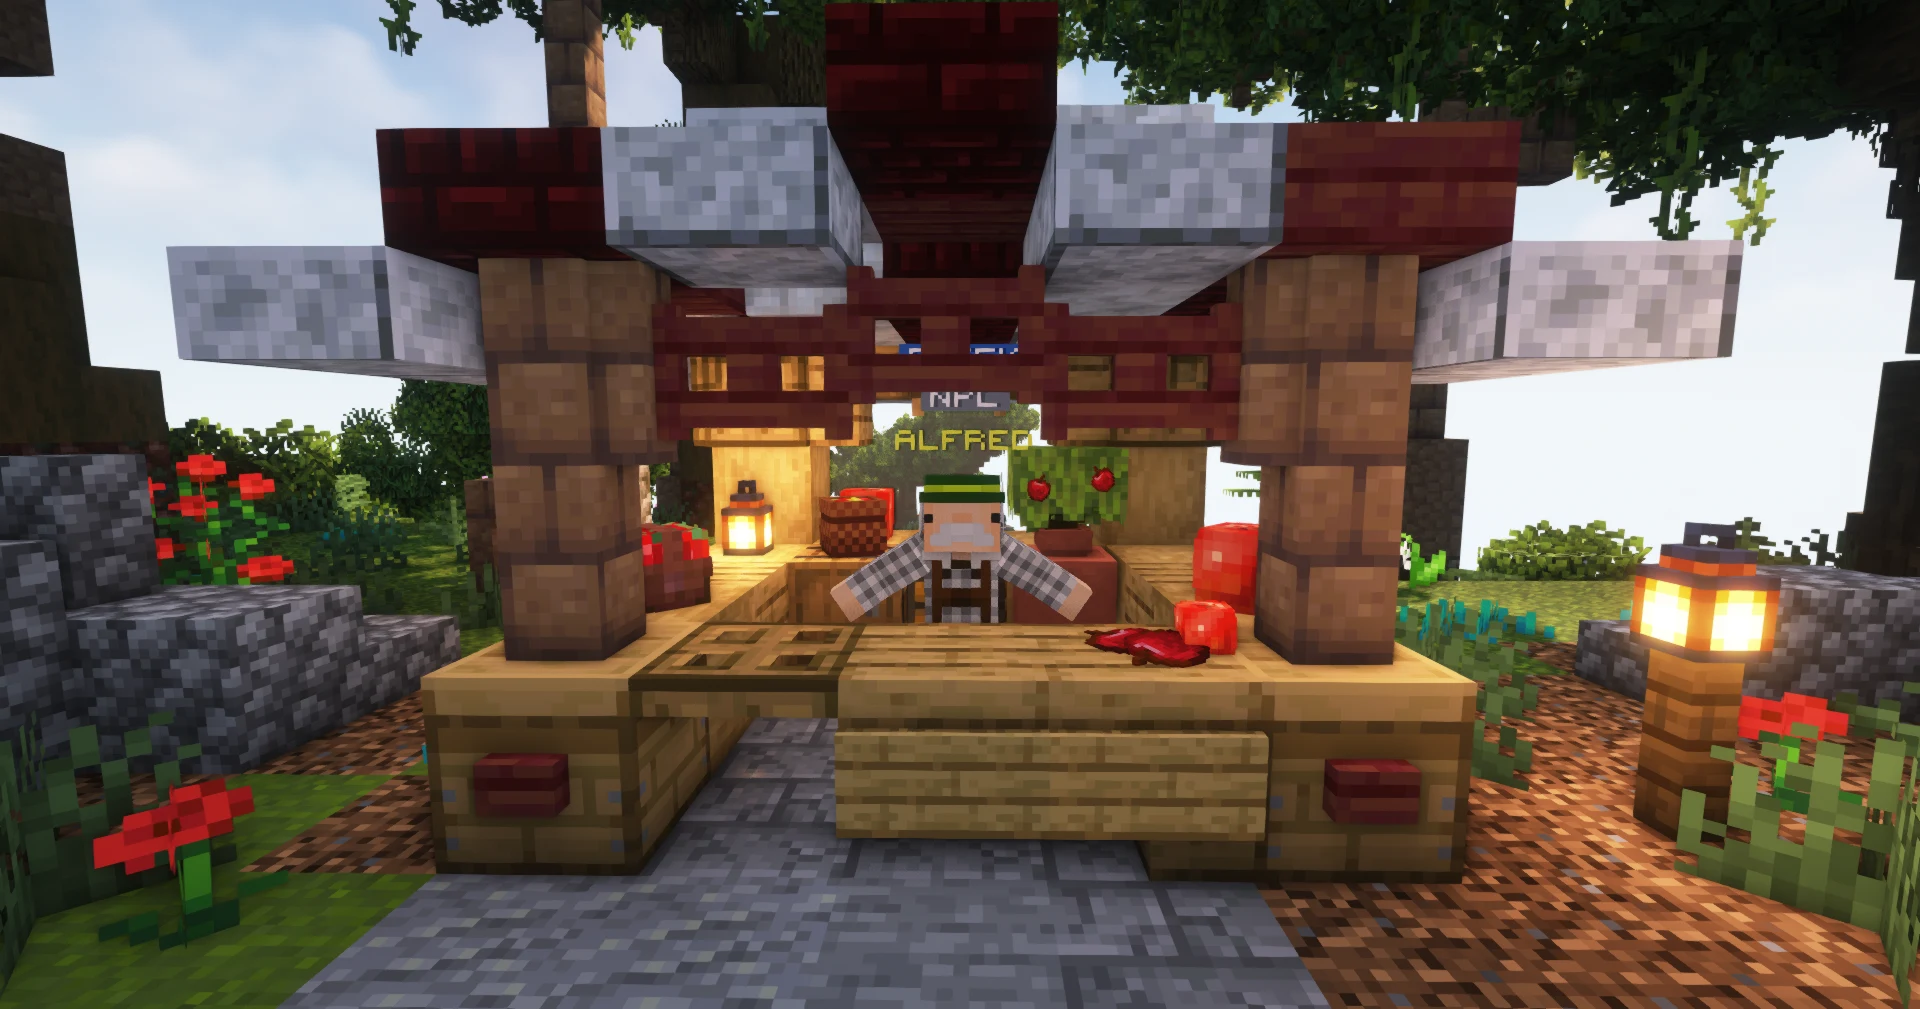
Alfred takes one look at you and decides the world makes more sense when your hands are busy. Before you go chasing favours, start with honest work — and with so many folk swamped because of the bees, there's plenty going. Take a job from one of the townspeople, then come back. Steady coin now means steady experience too — so head to the bank afterward and open an account.
What to do:
- Find a Job NPC at spawn and pick up a job.
- Return to Alfred.
Rewards: 1,400 Gold · 5 Nectar
Feature: Jobs
Open /jobs and sign on. You get paid for things you're already doing — mining, farming, chopping, fishing, fighting — turning everyday work into steady Gold and XP. Your rank decides how many jobs you can hold at once.
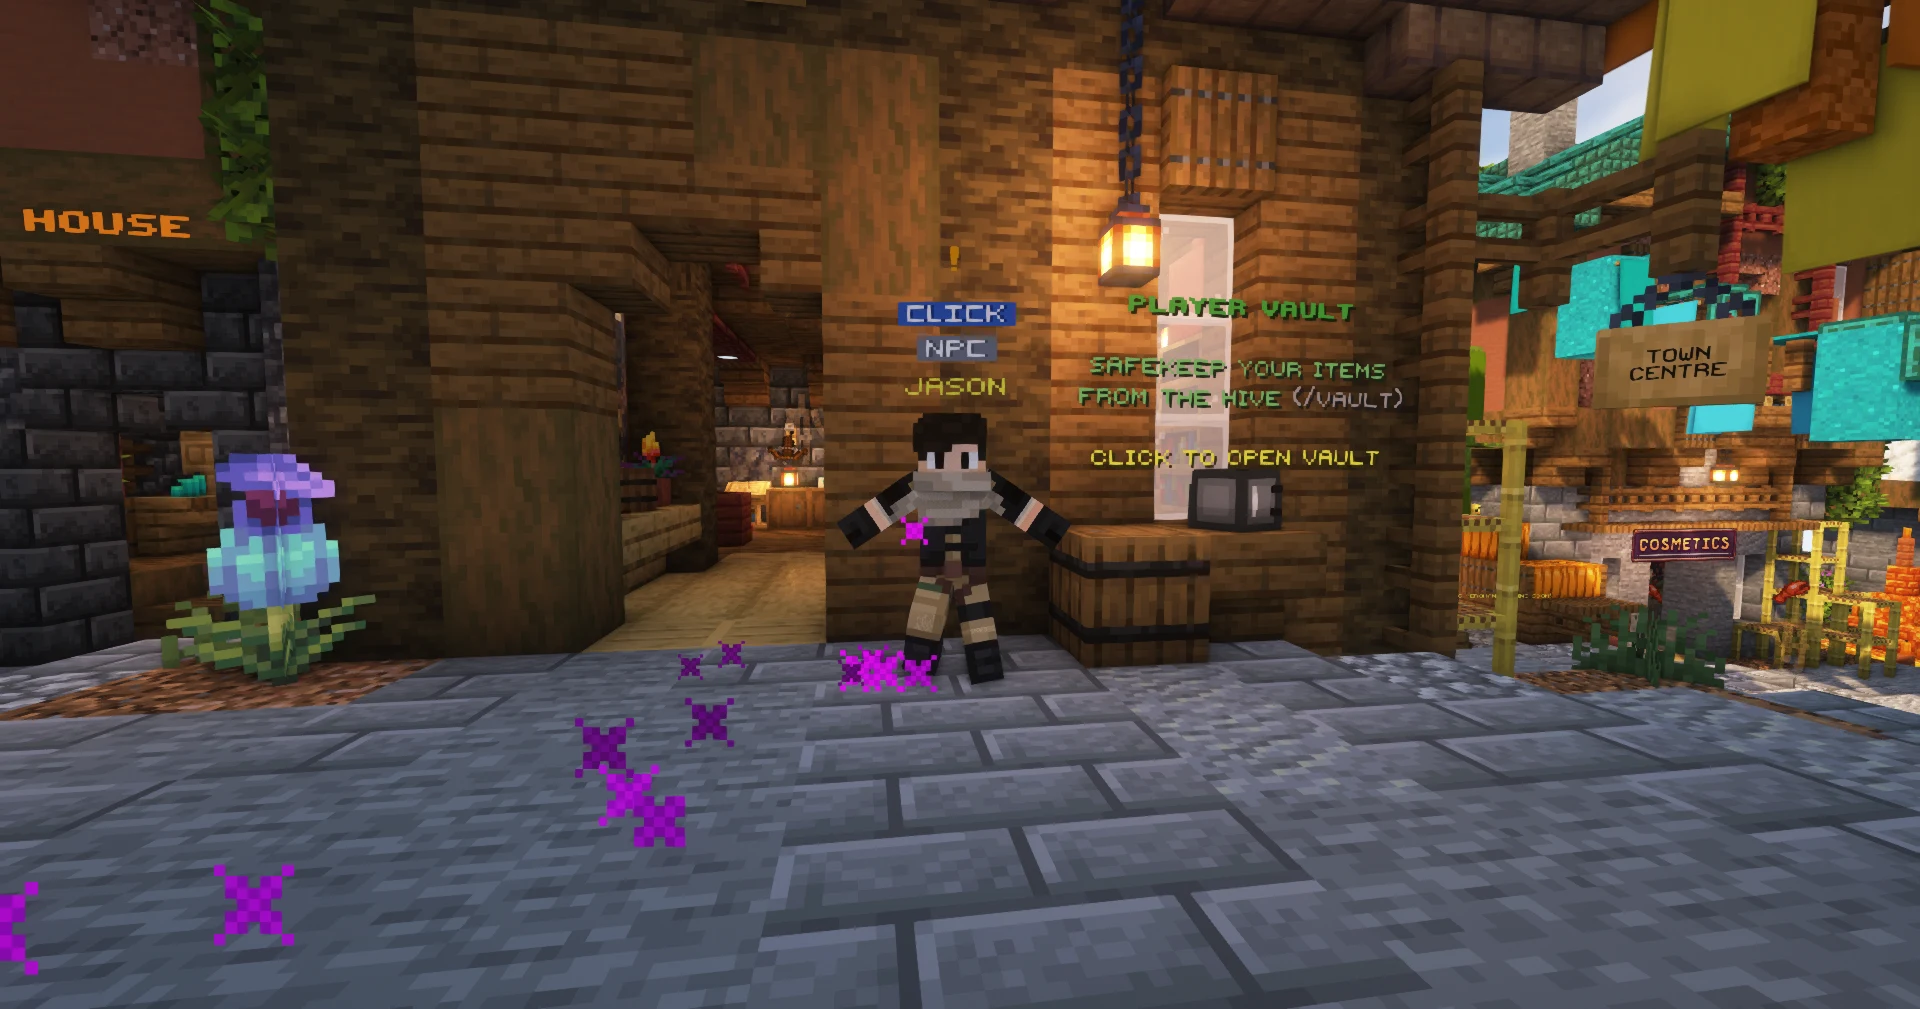
Q4 · Banking on Bees
Who & where: Beatrice, the bank teller. "Gold comes and goes — want it to keep? Bank it with me."
Beatrice has seen too many jingling pockets get lightened. Kieran's grandfather built this bank so folk could walk the streets without fear. The lesson is simple: gold in your pocket is a risk; gold in the bank is a promise. Die out there undeposited and you lose a slice of it — banked coin stays asleep, safe from death and thieves alike.
What to do: Visit the banking terminals and deposit your Gold.
Rewards: 1,500 Gold · 10 Nectar
Feature: Banking & the death penalty
Deposit Gold at the bank terminals to protect it — carried Gold can be lost on death. Running a town? Use /town deposit and /town withdraw to manage the town's shared account. Bank before any risky trip; the bees aren't the only things that sting.
Q5 · Aura Farming
Who & where: Elias. "You look like someone trying to do everything at once. Good instinct. Bad planning."
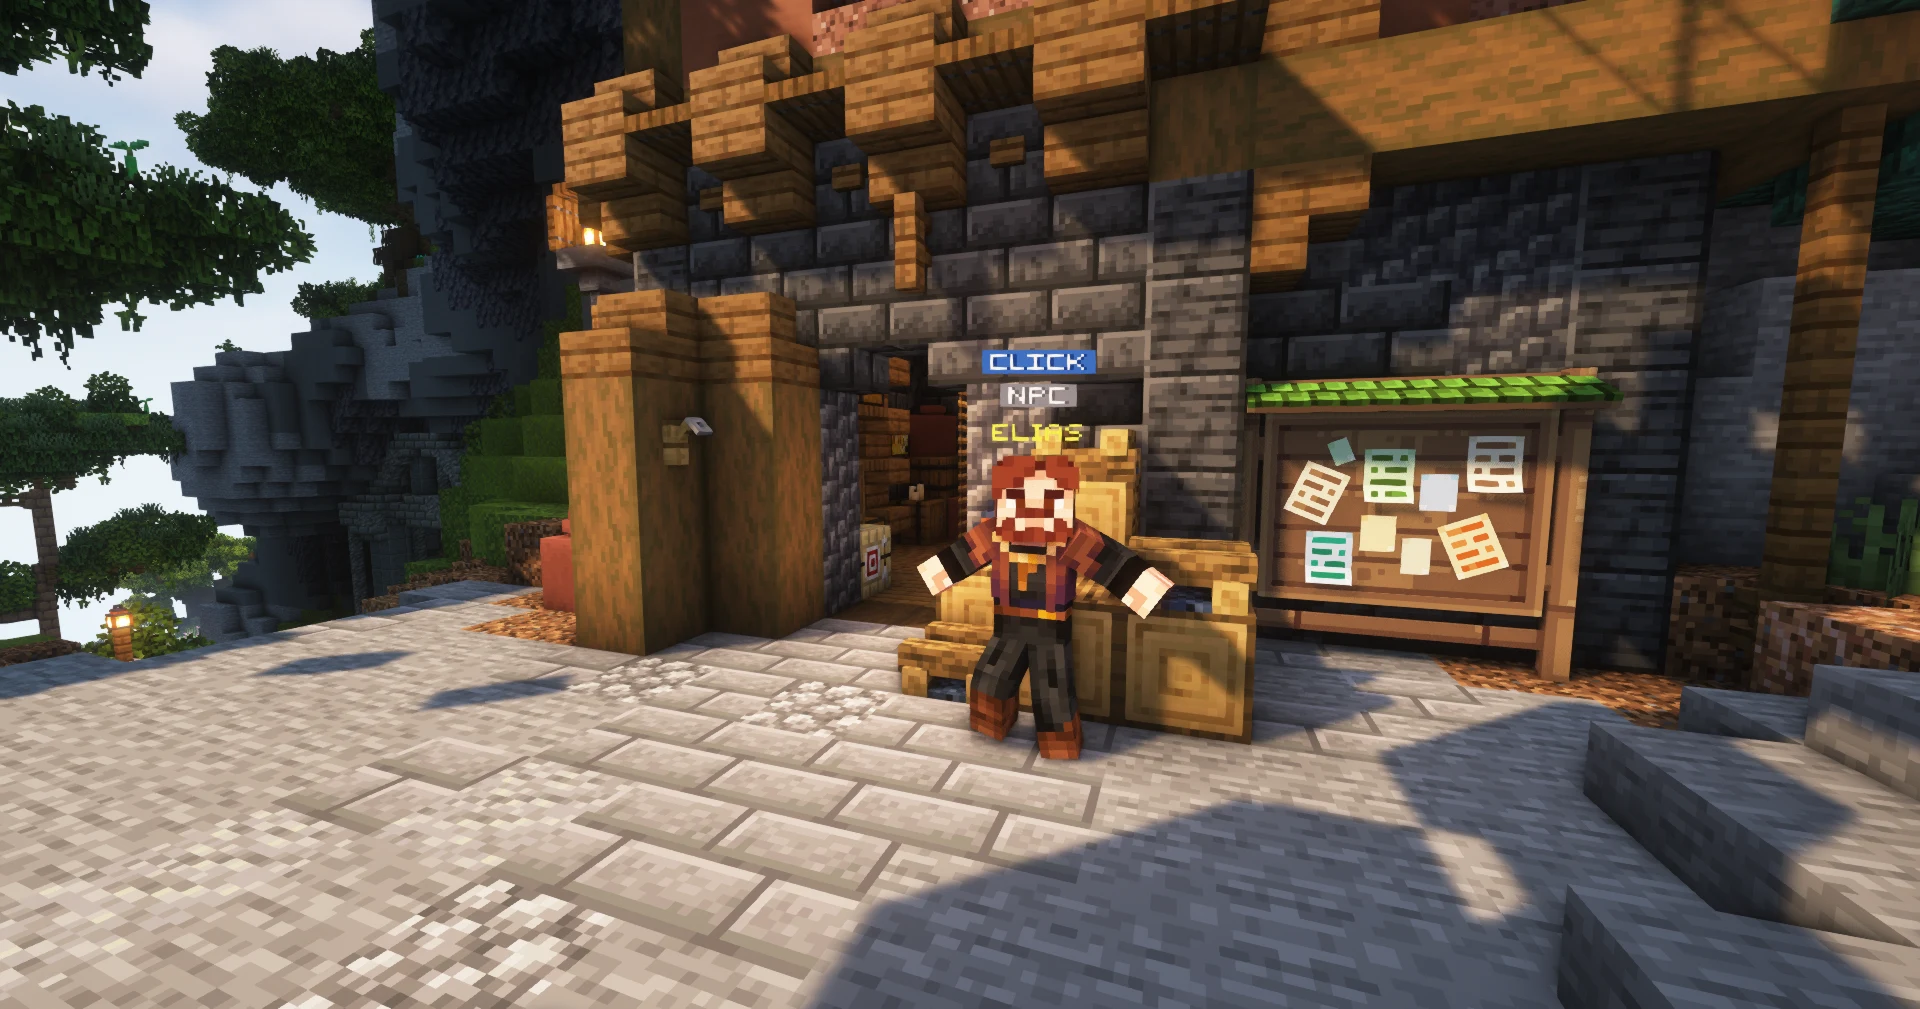
Elias never specialised in one thing, and that's exactly why he's still alive — "mastery's for peaceful times; survival needs range." Where Jobs pay you to focus, Skills keep you alive when focus isn't enough. And you don't train them by thinking — you train by doing. Mine, chop, farm, fish, build, fight. He sends you to Adam to put it into practice.
What to do:
- Open
/skillsand pick a skill that suits how you play. - Go do that activity to feel it level.
- Move on to Adam in the fields.
Rewards: 1,600 Gold · 10 Nectar
Feature: Skills
- You level by doing — every action feeds its matching skill.
- Each level grants a point. Spend points in
/skillsto unlock perks. - Two kinds of perks: most are passive (hit harder, move easier, waste less); some are active abilities you trigger yourself.
- Abilities cost mana, which refills on its own — use it when it counts.
/skills profileshows your totals and weak spots./skills topranks the whole server.
Q6 · Path of the Farmer
Who & where: Adam, in the wheat fields. "Barely made a dent in the wheat…"
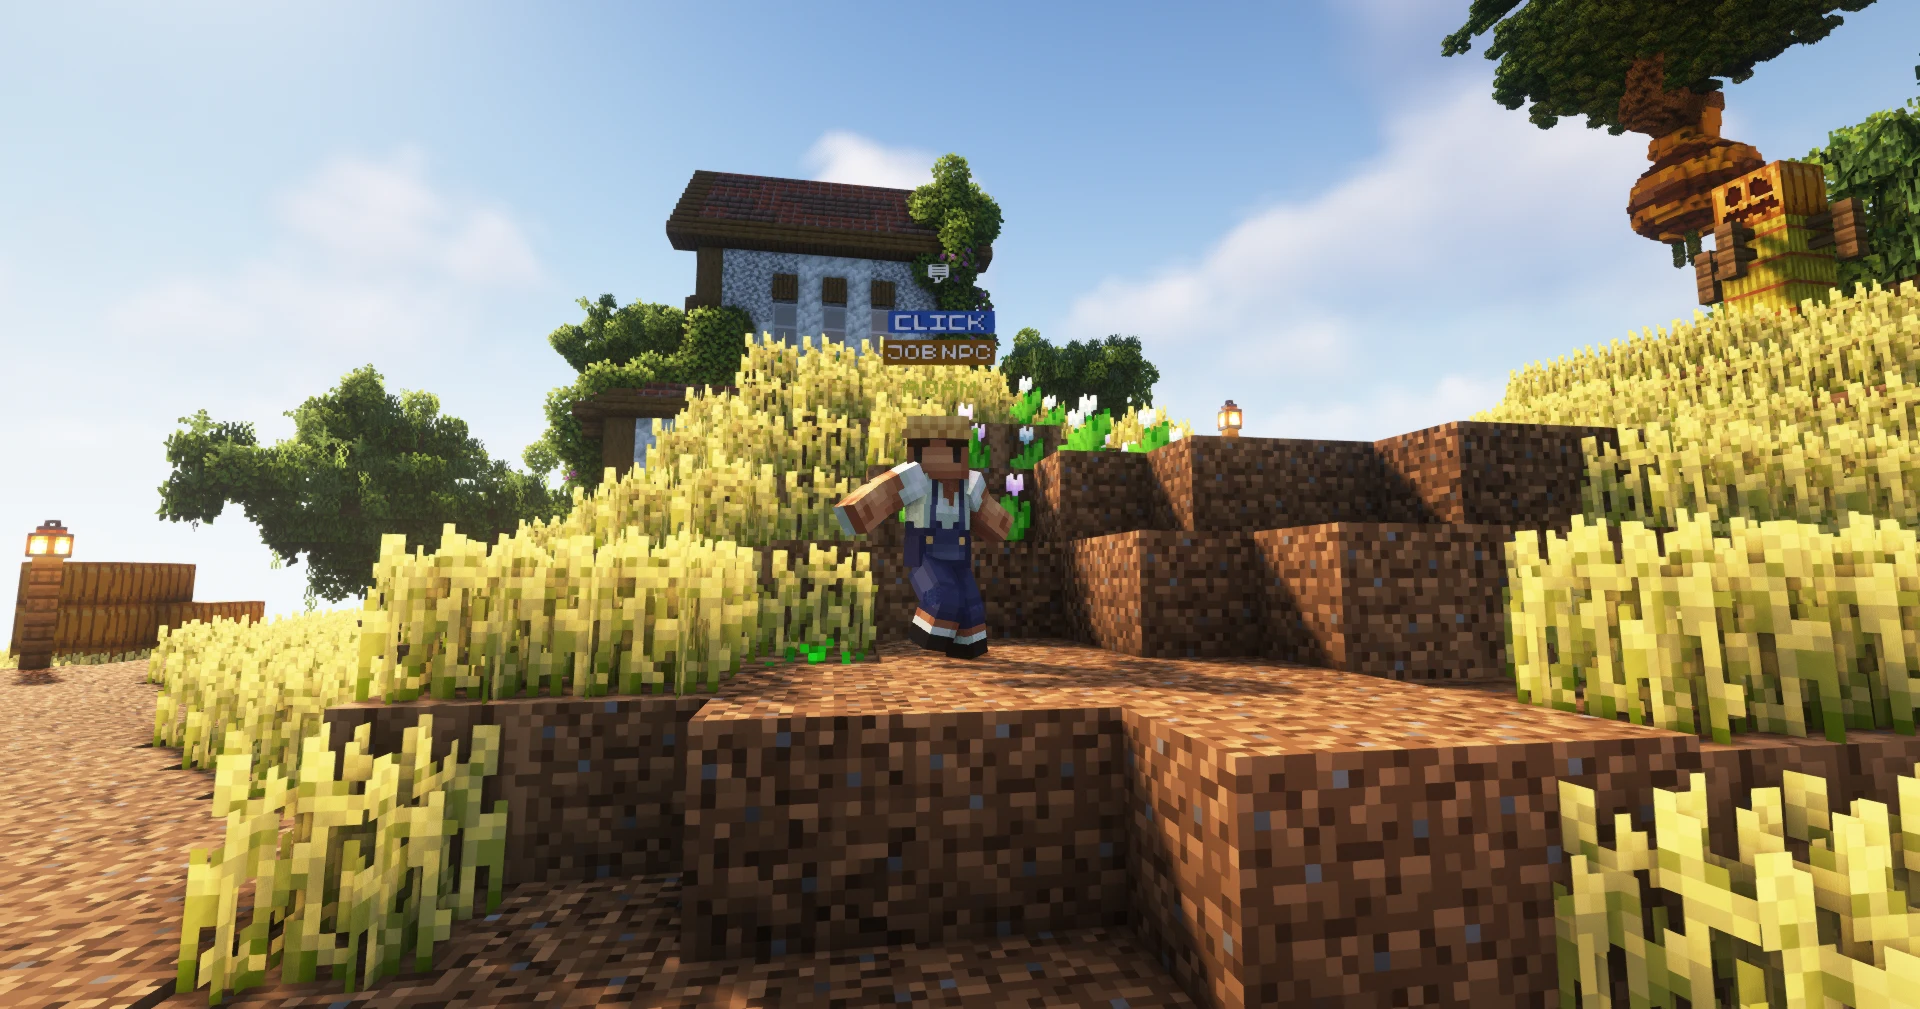
Adam won't be impressed by a title alone — "titles don't grow crops." Prove your hands know the work, then he'll trust you with the real problem: something's wrong with the soil and growth has slowed. He needs someone who actually knows what they're doing to fix it.
What to do:
- Reach Farming Level 3.
/rankupto Farmer.- Craft and bring 16 bone meal.
Rewards: 2,800 Gold · 15 Nectar · 1 Common Crate Key
Feature: Crates
Crate keys open the Cove's reward crates. There are several tiers — Common, Rare, Epic, and Jartonite — earned through quests, ranking up, voting, and dungeons. Take your Common Key to the crate area to spin it.
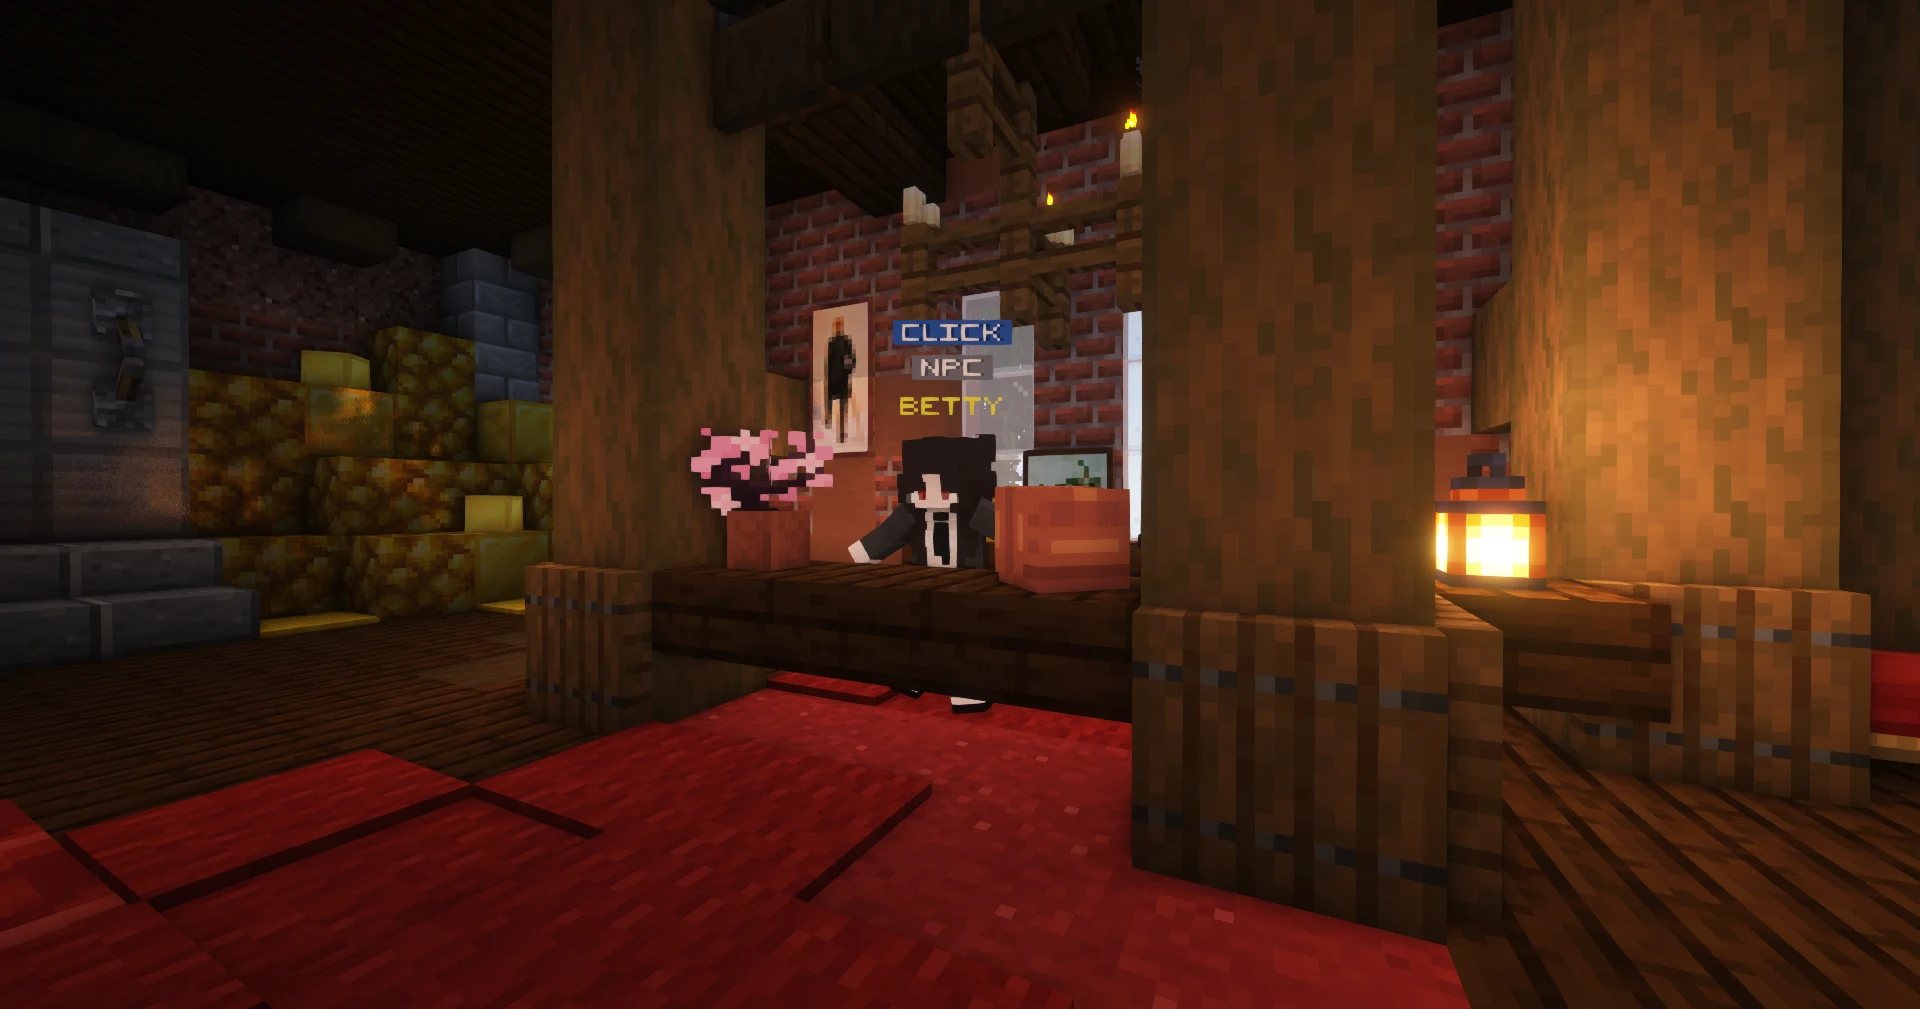
Q7 · The Badger's Mark
Who & where: The Badger, lurking near the town centre. "Hey, you! Over here! Look down."
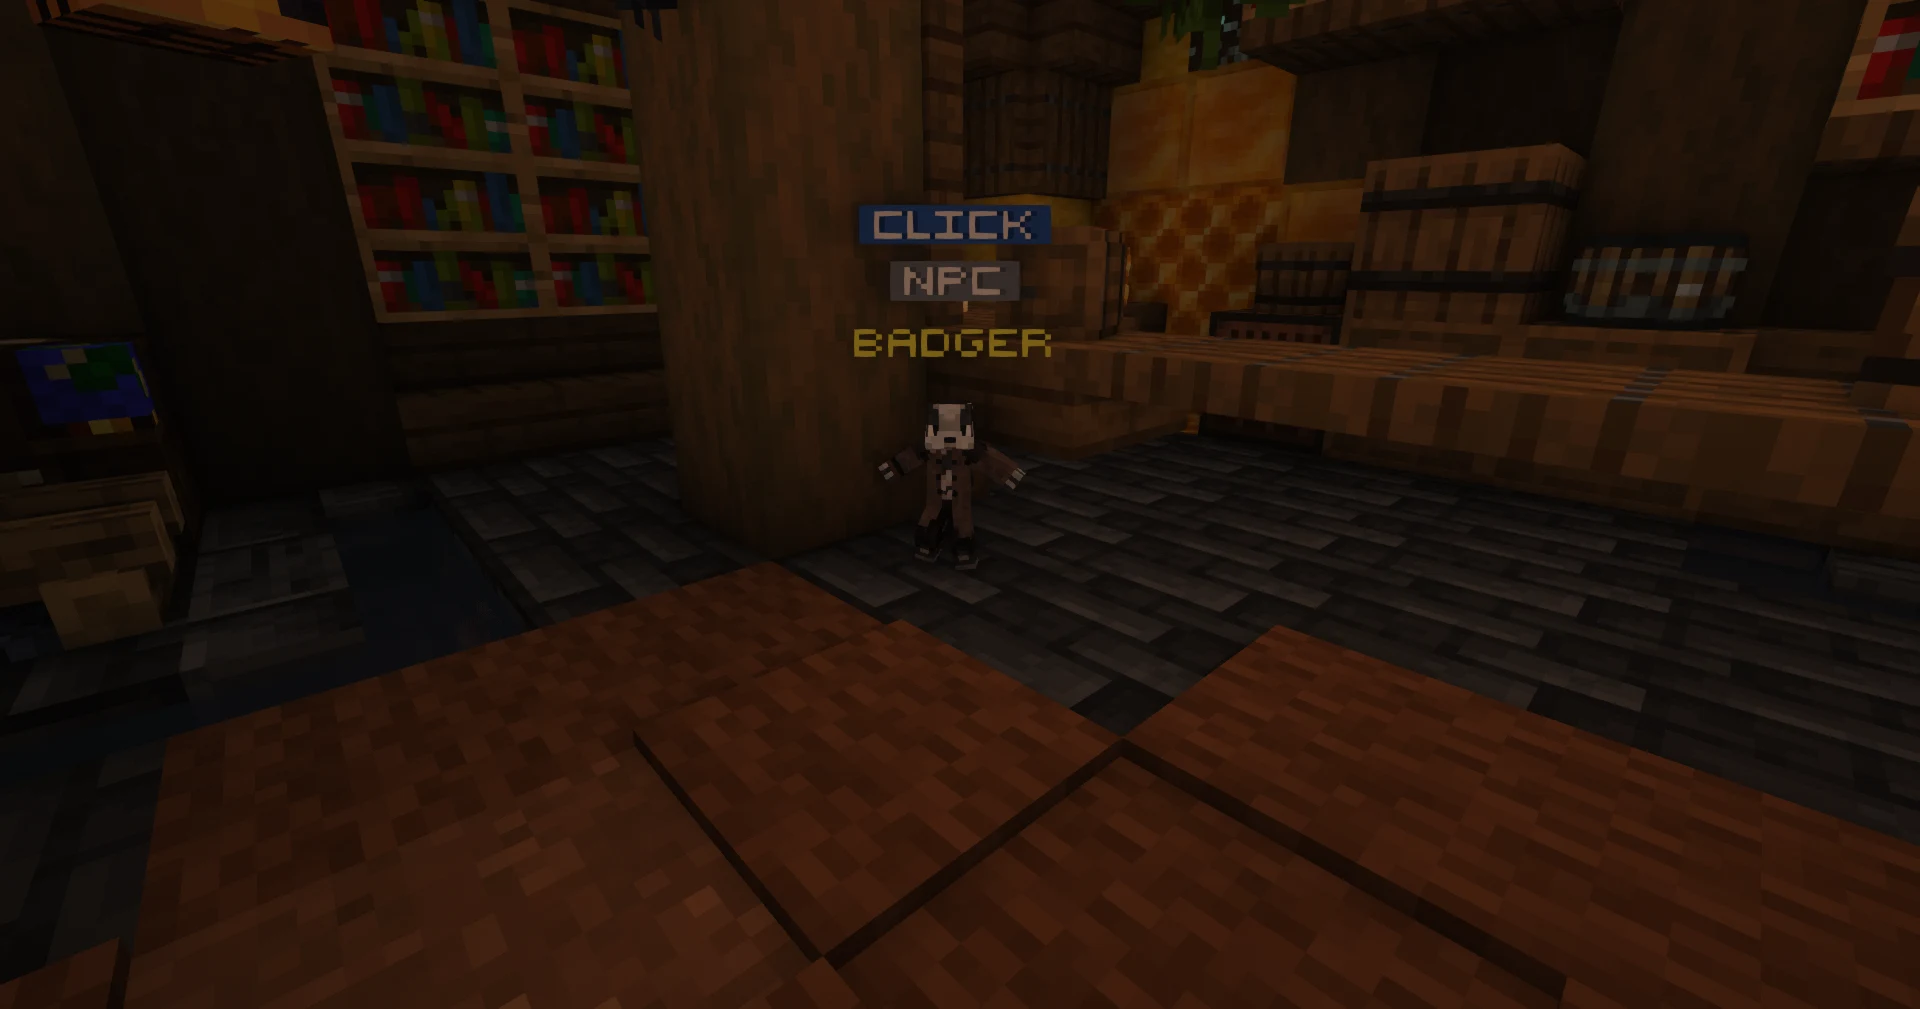
He's a badger. He also talks — because he wasn't always a badger. A witch he loved cursed him into this shape, and somewhere out there is an artifact that might undo it. Bitter as he is, he still does his old job: handing out badges for the things players accomplish. He points you toward Charlotte for trade tips.
What to do: Hear the Badger out, then go find Charlotte.
Rewards: 1,600 Gold · 5 Nectar · 1 JartonCoin
Feature: Badges
Open /badges to see milestones you can earn across the server. Unlock one, click its coin, and claim the reward. They're a running checklist of achievements — and bragging rights.
Q8 · Honey on the Market
Who & where: Charlotte, at the marketplace. "This place is the heart of the Cove. When coin moves, the town breathes."
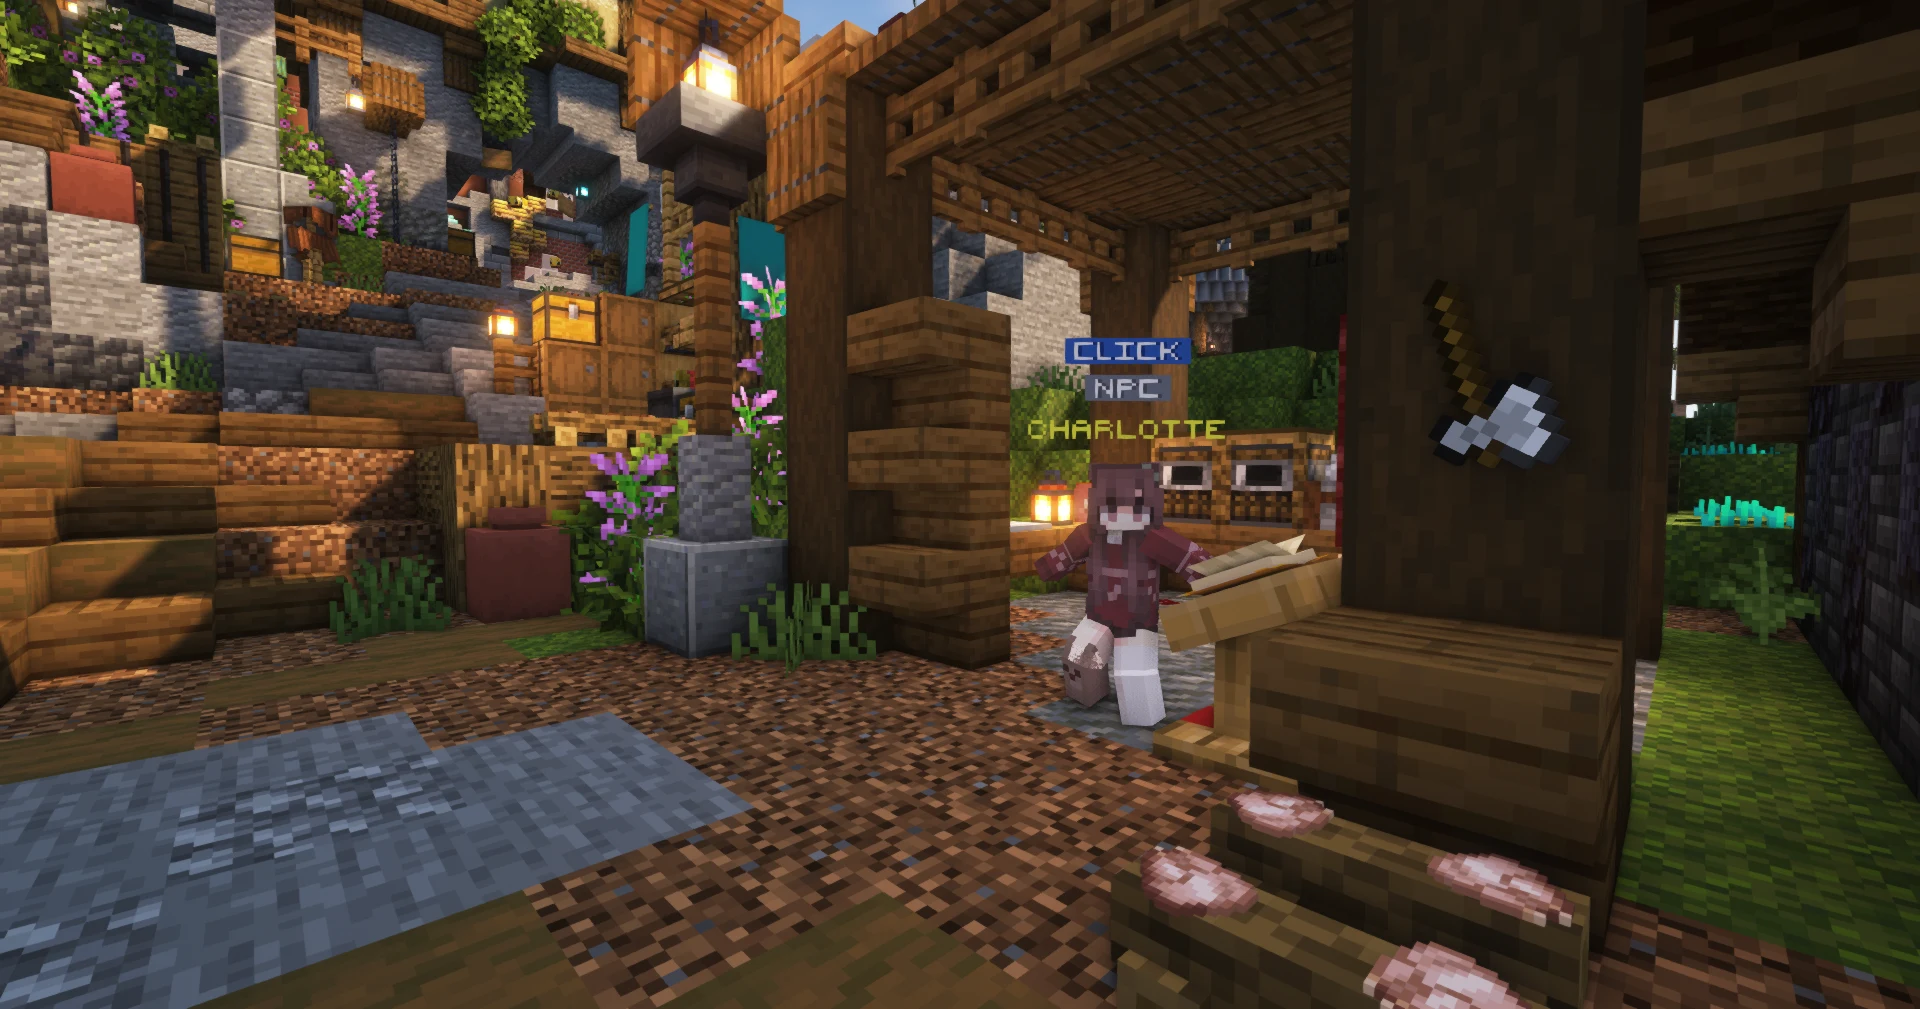
With the bees pushing trade routes out of shape, markets matter more than ever — and Charlotte intends to keep goods moving. She wants you to learn the system first-hand: list something and make a sale. "Coin keeps you stable, but reputation keeps you afloat."
What to do: List an item on the Auction House and sell it (earn 1,000 Gold through /ah).
Rewards: 1,700 Gold · 20 Nectar
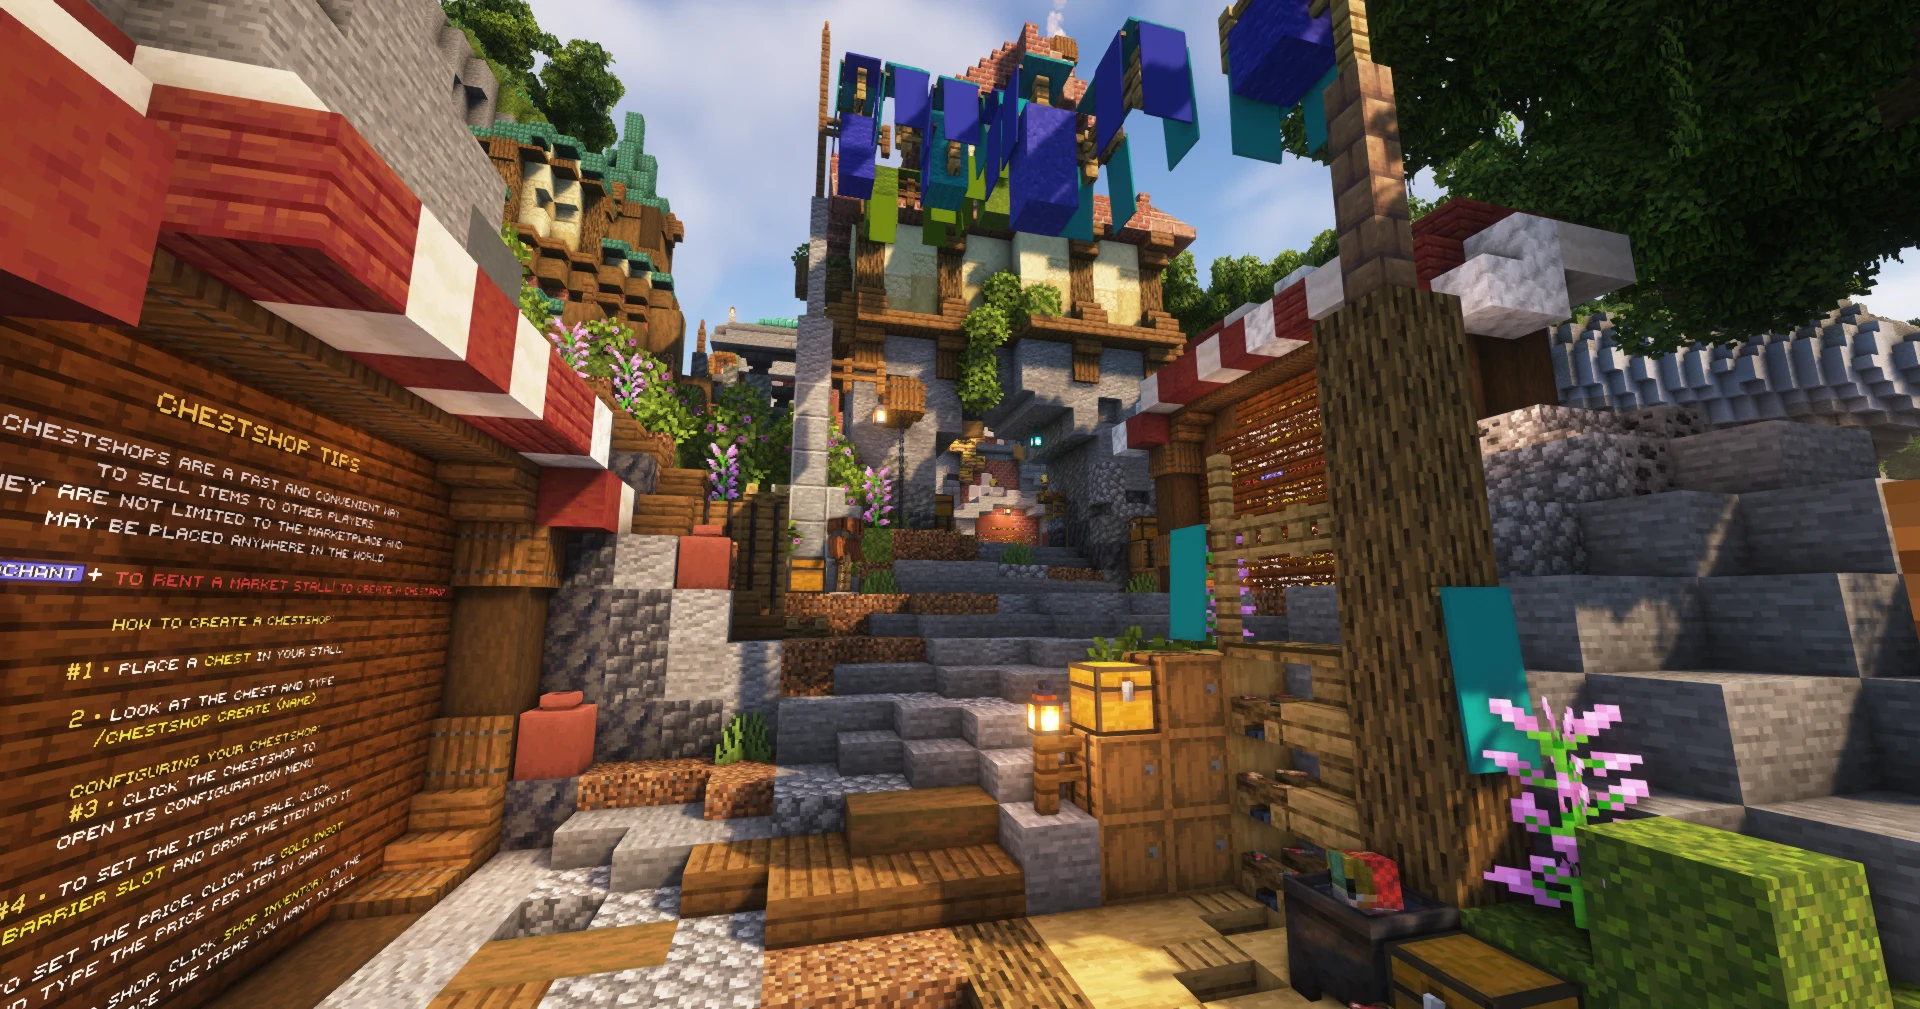
Feature: Selling — Auction House & Stalls
Got a few things to sell? Type /ah anywhere (or talk to the Auctioneer), post your item, set a price, and the coin finds you. Want a permanent storefront? Reach Merchant rank and you can rent a market stall to sell bulk crops, loot, and crafted goods face-to-face.
Q9 · Civic Duties
Who & where: Kieran.
Kieran levels with you: that buzzing isn't normal bees, and hasn't been for years. Every time the hive pushes closer, something stops working — fields abandoned, mines stalled, supply routes gone quiet. You're not just passing through anymore; you're one of the Cove now. Help where you're needed and people remember.
What to do: Help 3 Cove workers with their tasks (the next quests count).
Rewards: 1,800 Gold
Q10 · Miner's Rhythm
Who & where: Cody, at the quarry. "Today's been quite the day…"
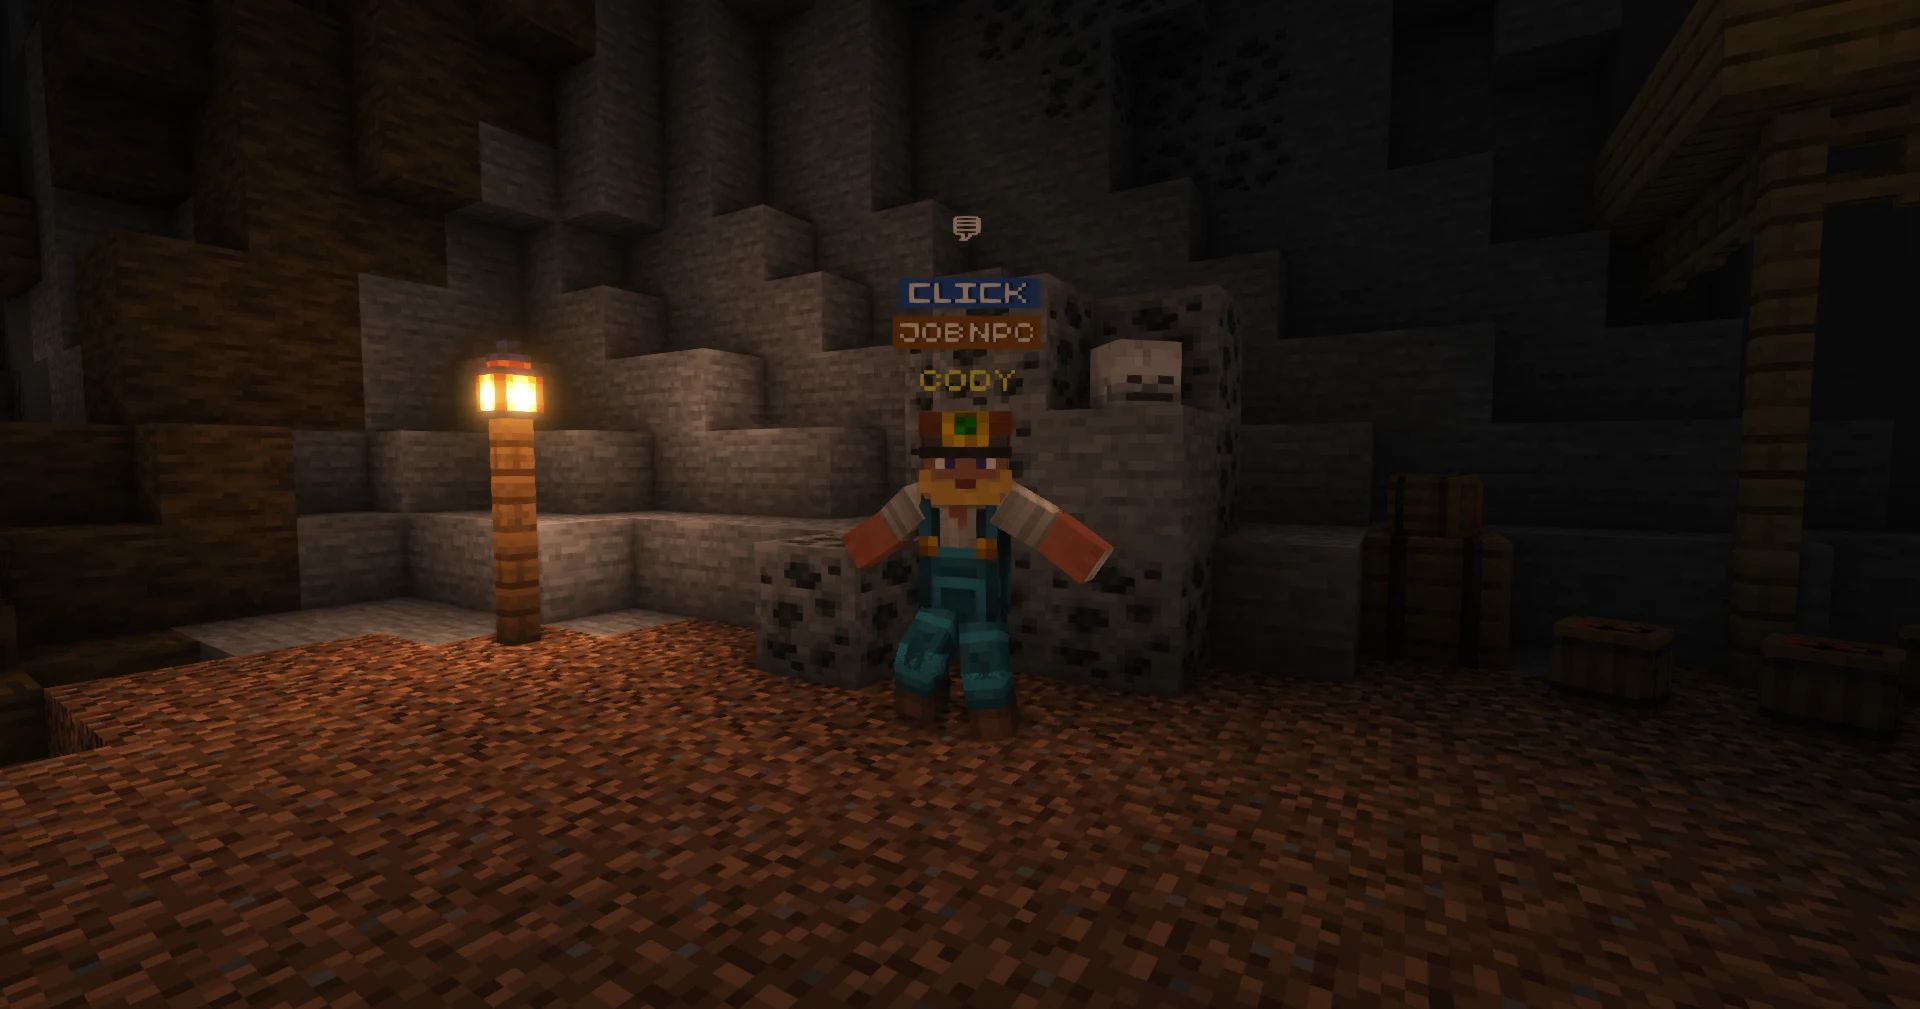
The bees swarmed Cody's dig and he had to flee, leaving him behind on his quota with a foreman breathing down his neck. Help him catch up. In thanks, he presses his father's old, upgraded pickaxe into your hands — take good care of it.
What to do: Mine and bring 64 cobblestone to Cody.
Rewards: 1,800 Gold · Refined Pickaxe
Q11 · Lumber Order
Who & where: Colt, by the grove. "Were you the one who helped Cody?"
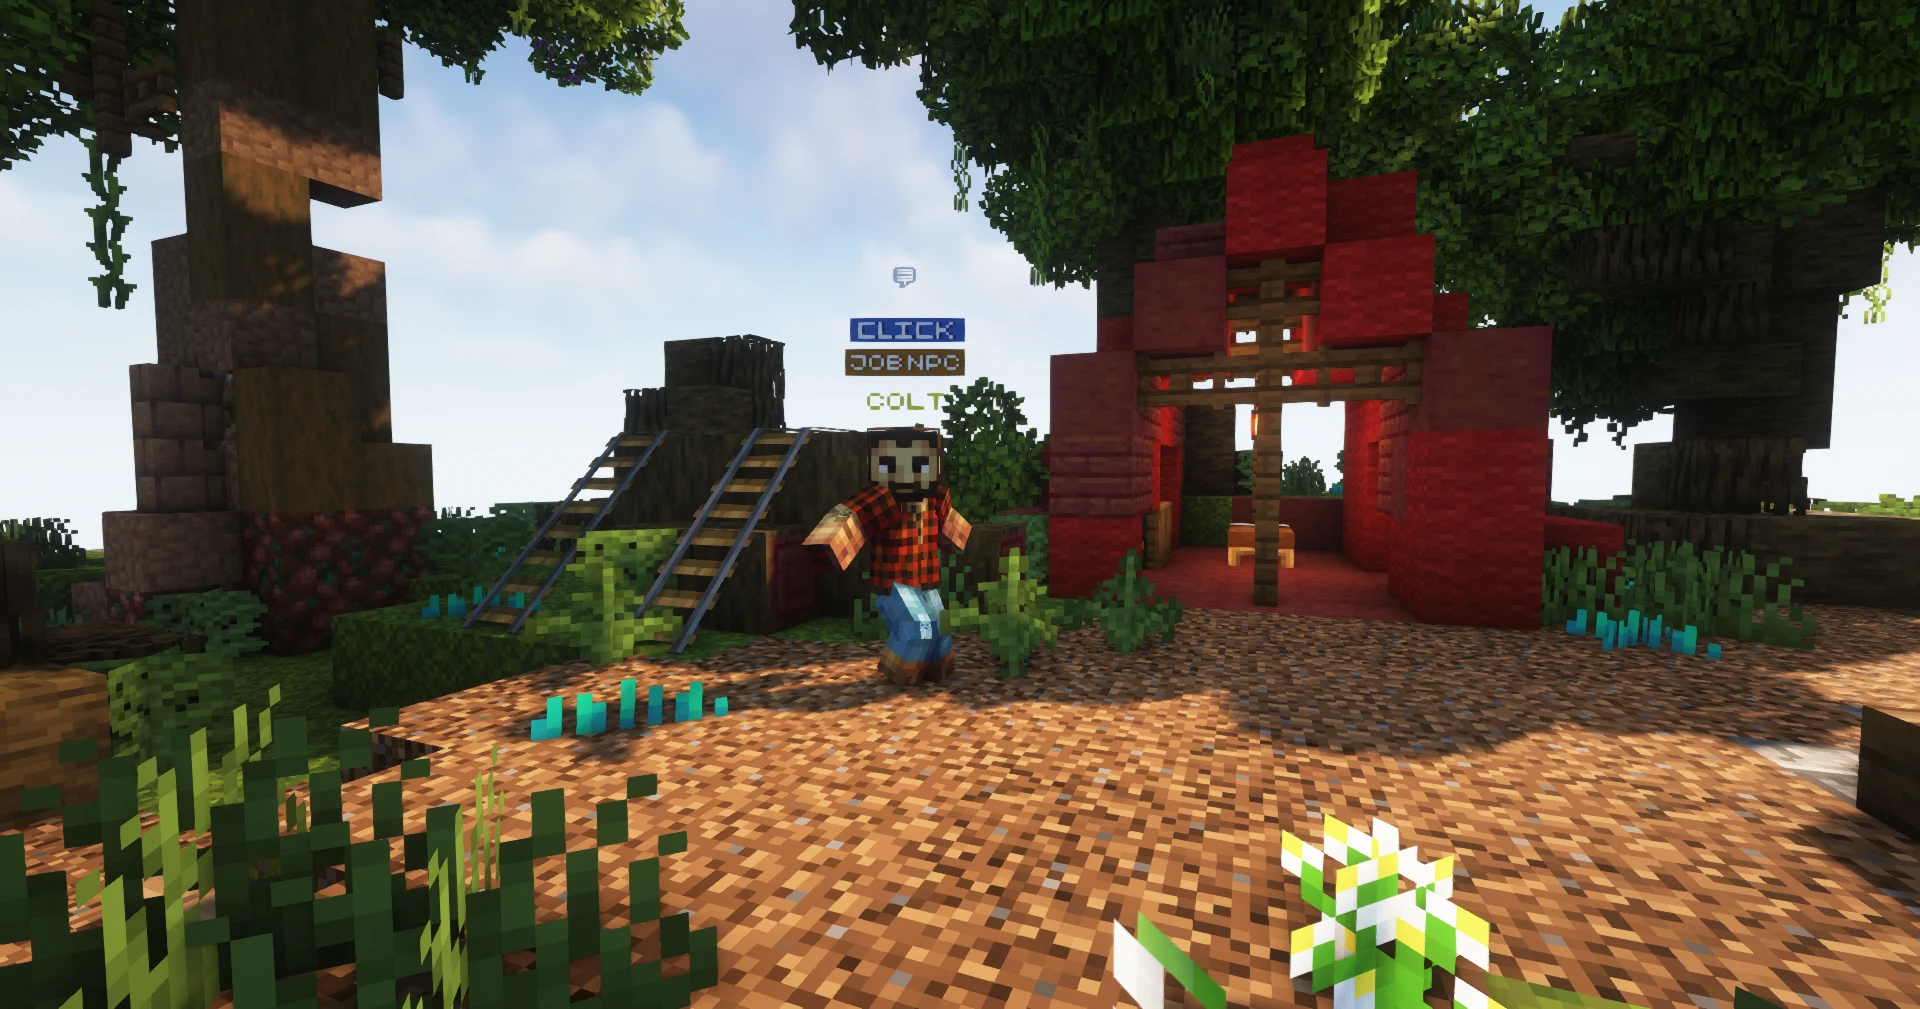
Word travels — Colt's family even used some of that stone to patch their home. Now the bees have chased him clear out of the grove with nothing to show for the day. Clear his backlog and he'll hand you his Quicksplit axe — fast for lumber runs, but it won't last forever, so use it wisely.
What to do: Chop 64 oak logs and bring them to Colt. (Watch the treetops — the hives are everywhere.)
Rewards: 1,900 Gold · 20 Nectar · Quicksplit (Logger's Axe)
Q12 · Path of the Wanderer
Who & where: Alfred.
Alfred's noticed you never stick to one corner — always moving, always learning. That's not just being busy; that's a Wanderer's way of living. Make it official. He also has a quiet worry: Silas hasn't been himself, watching the arena like he's waiting for something. Go check on him — see what he says, and what he doesn't.
What to do:
/rankupto Wanderer.- Go find Silas.
Rewards: 3,200 Gold · 20 Nectar · 1 Common Crate Key
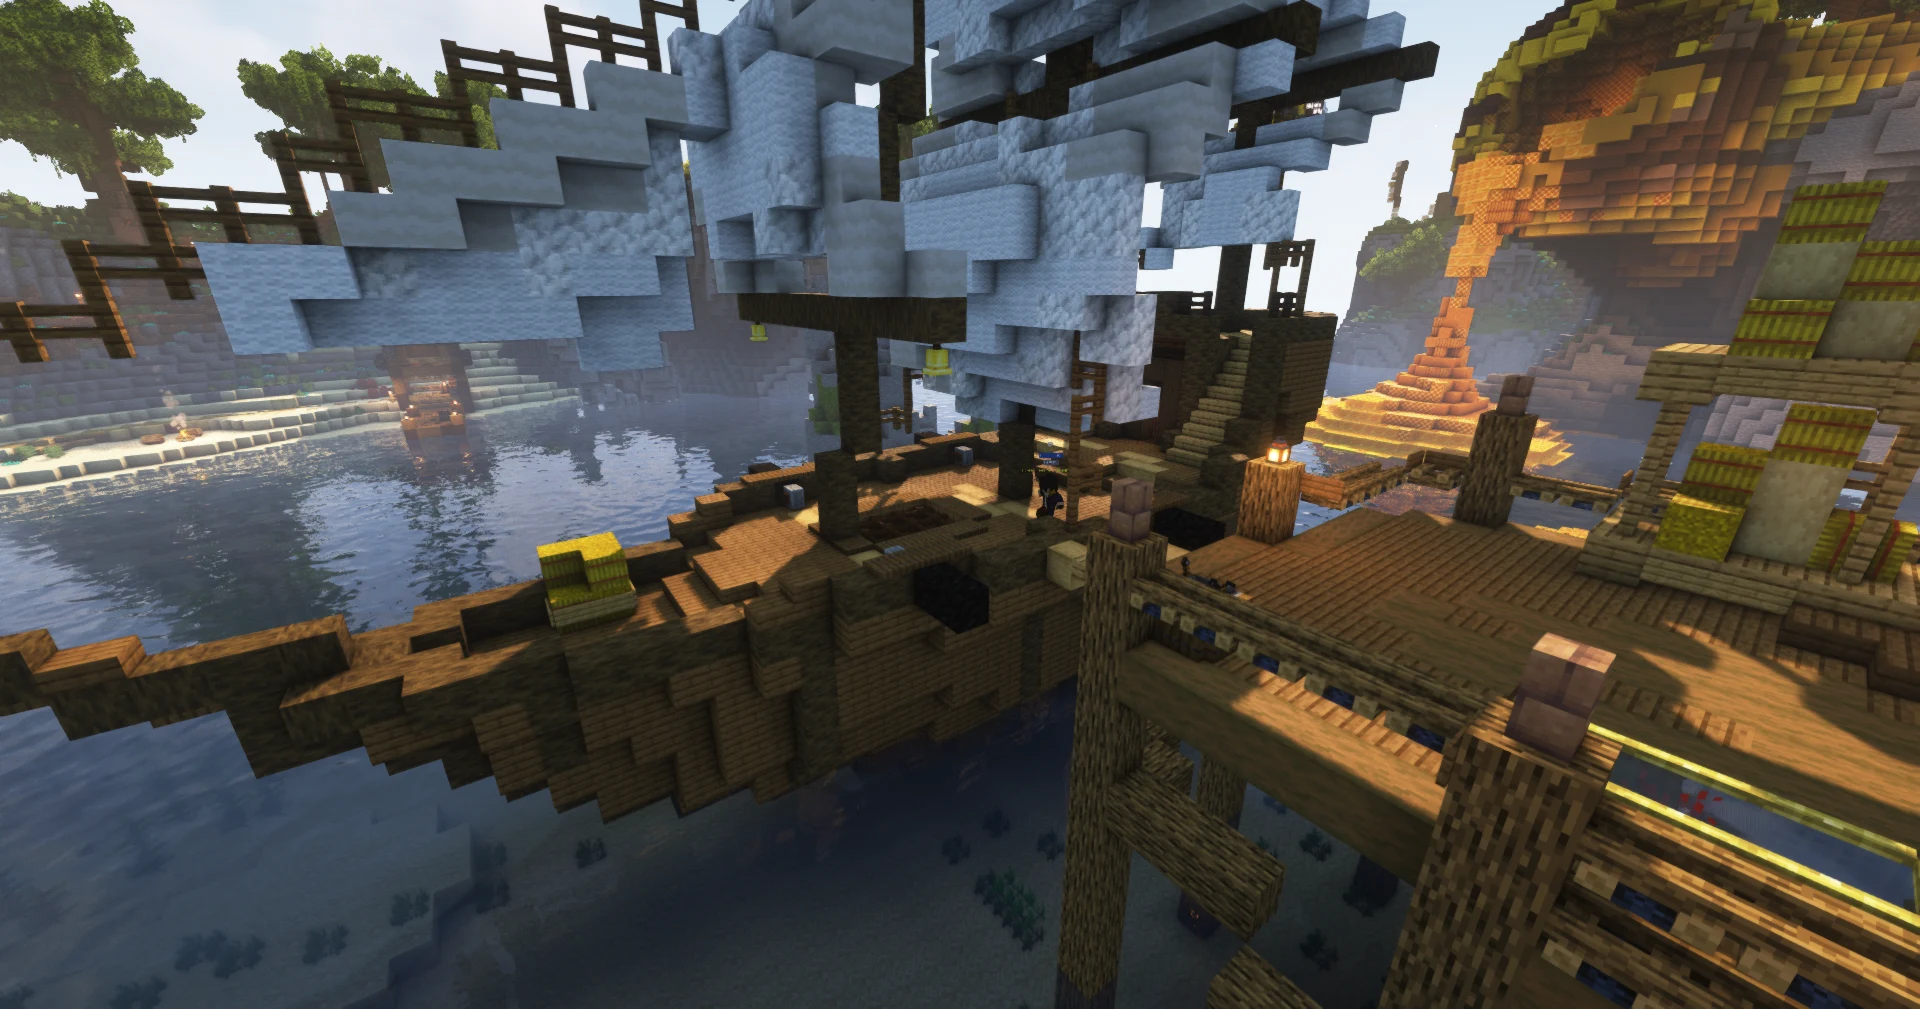
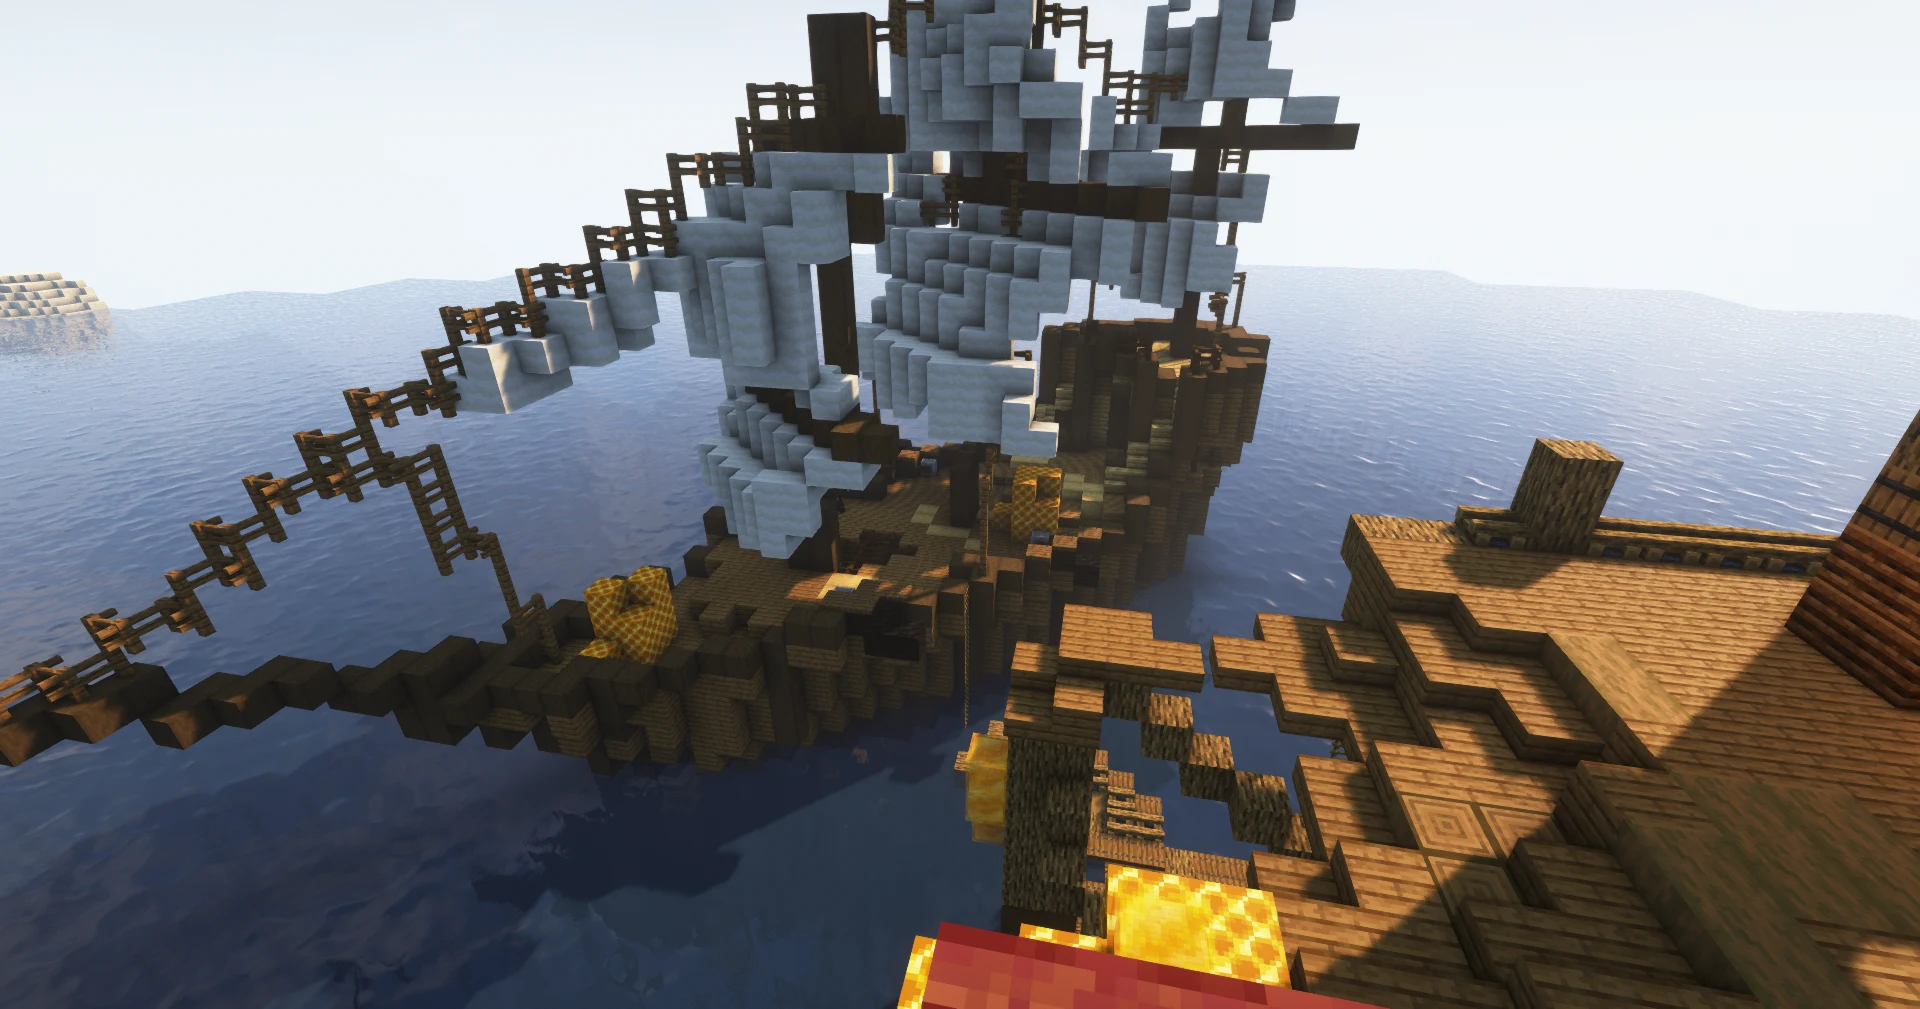
Q13 · Defend the Wall
Who & where: Silas, head of defence. "—Ah! …Sorry. For a moment, I thought you were one of them."
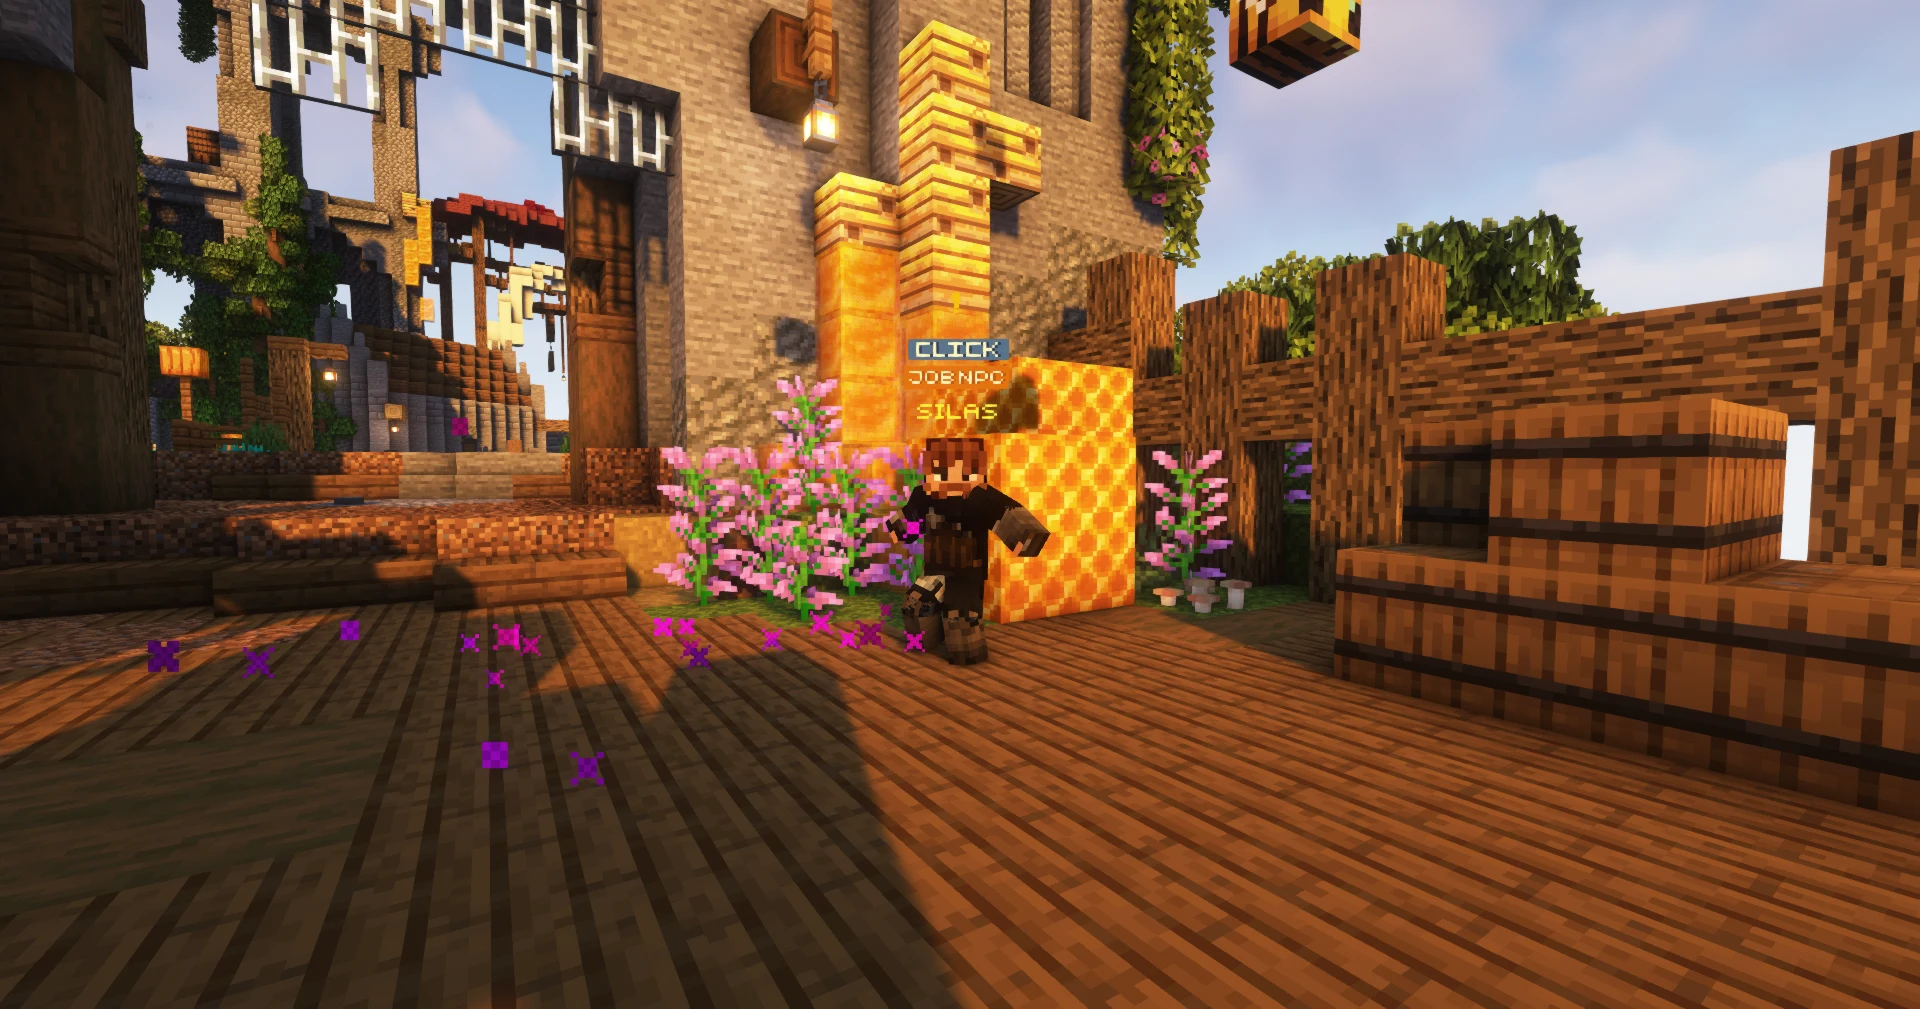
Silas has faced vampires and ancient sand-worms, but the bees unnerve even him — they don't stalk, they don't warn, they swarm. He won't abandon his post, but he needs a moment to steady himself. Hold the wall in his place. This is your first dungeon.
What to do:
- Board the ship at spawn to sail out to the wall.
- Speak to Silas at the wall to begin the defence.
- You're dropped at the wall on PvP Island — survive 3 waves of enemies and keep them from getting inside.
Rewards: 2,000 Gold · 25 Nectar
Feature: Dungeons
Type /dungeons to browse the Cove's instanced challenges — story battles, key bosses, and more. Many can be run with a party. Clearing them drops crate keys, gear, and loot; check /rewards for anything unclaimed.
Q14 · Defend the Cove
Who & where: Silas, on the PvP docks — starts the moment the waves end.
The wall was a distraction; the real attack is on the Cove itself. Silas catches his breath and, for the first time, chooses to be brave. You take the boat back together to fight the invasion head-on.
What to do:
- Board the ship at the arena to take the boat back to the marketplace.
- Speak to Silas on the Paradise Cove docks when you land.
- Kill the invading mobs and assist the townsfolk.
- Douse the fires — grab a bucket from the well and click the burning spots to put them out.
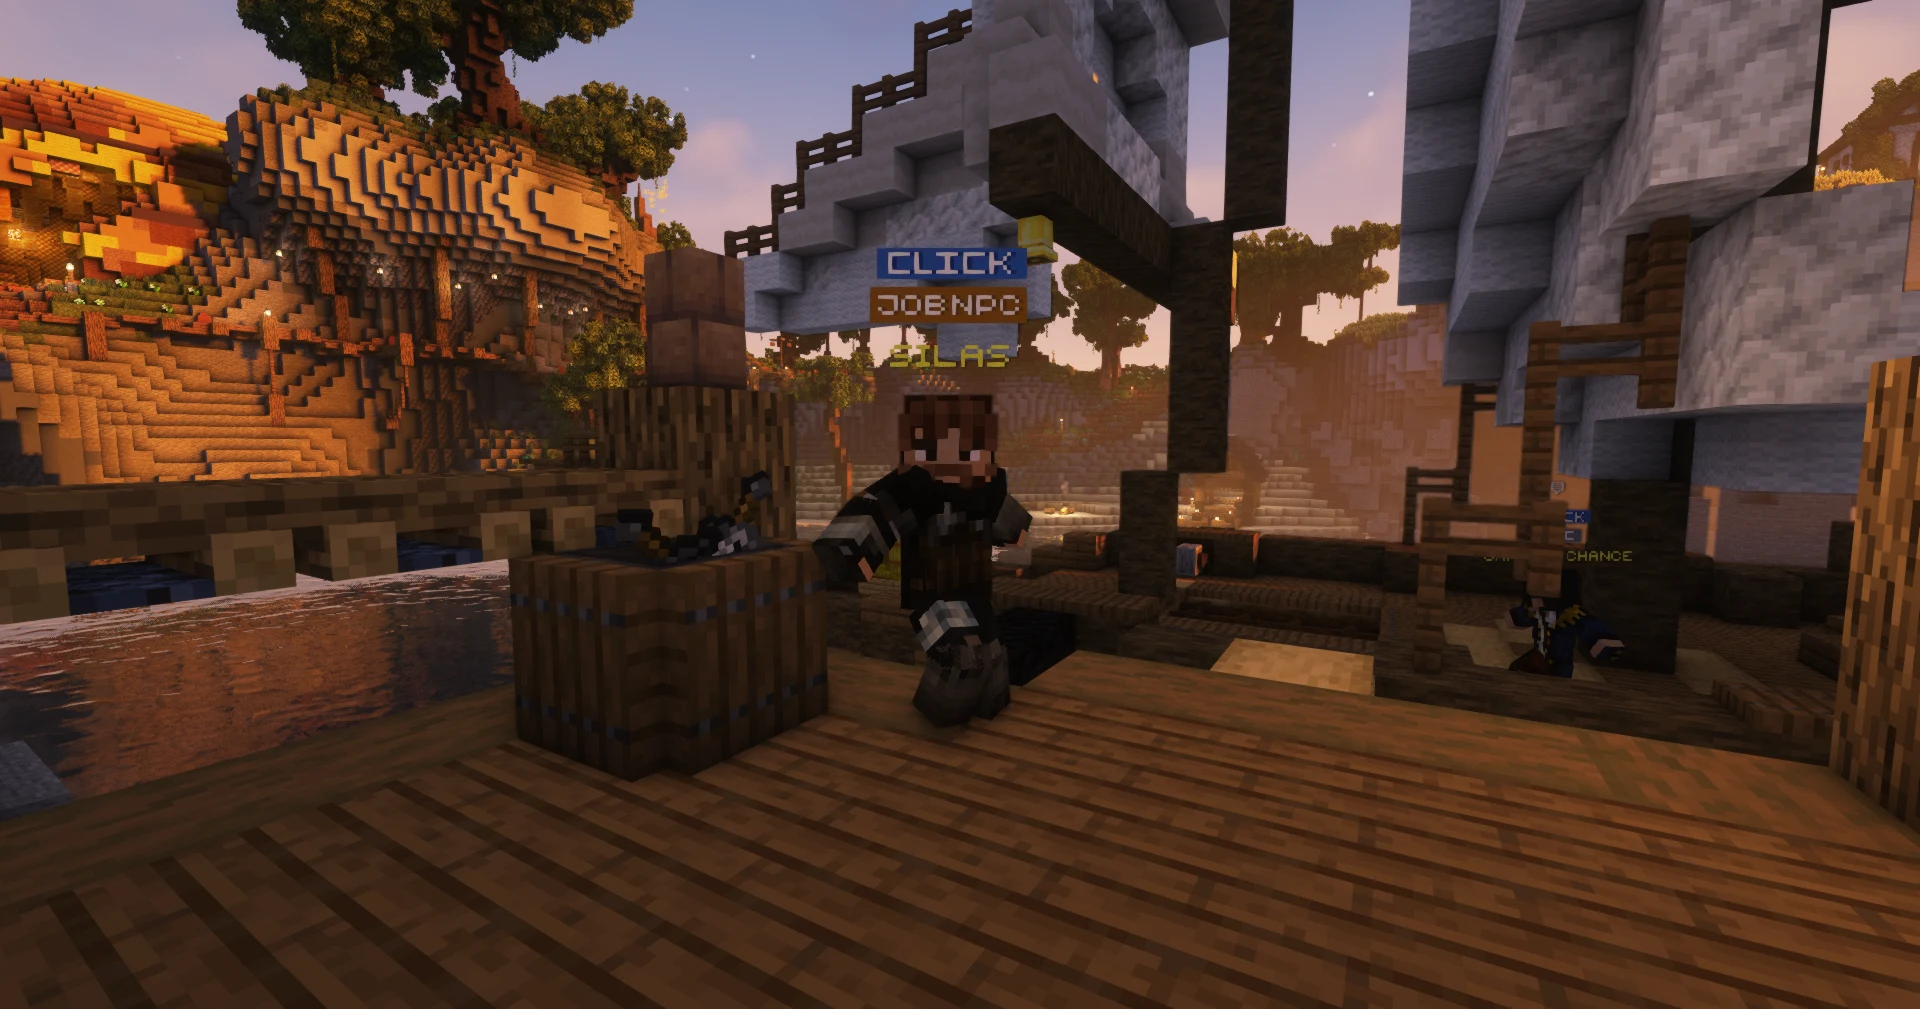
Rewards: 2,400 Gold · Medal of Courage · Honed Edge (a blade that repels most creatures after a single strike)
Q15 · Hero's Admiration
Who & where: Kieran.
You didn't hesitate and you didn't run. Kieran goes still when he sees the medal — it's older than most of the docks still standing, forged when the Hive first reached these waters and no one knew if the Cove would last the season. Every name that's ever worn one tipped the scales. Silas doesn't give them for bravery alone; he gives them when he believes someone can handle what comes next.
What to do: Bring the Medal of Courage to Kieran.
Rewards: 1,300 Gold
Q16 · Honeycrisp Bakery
Who & where: Iris, at the bakery. "I was hoping you'd stop by today."
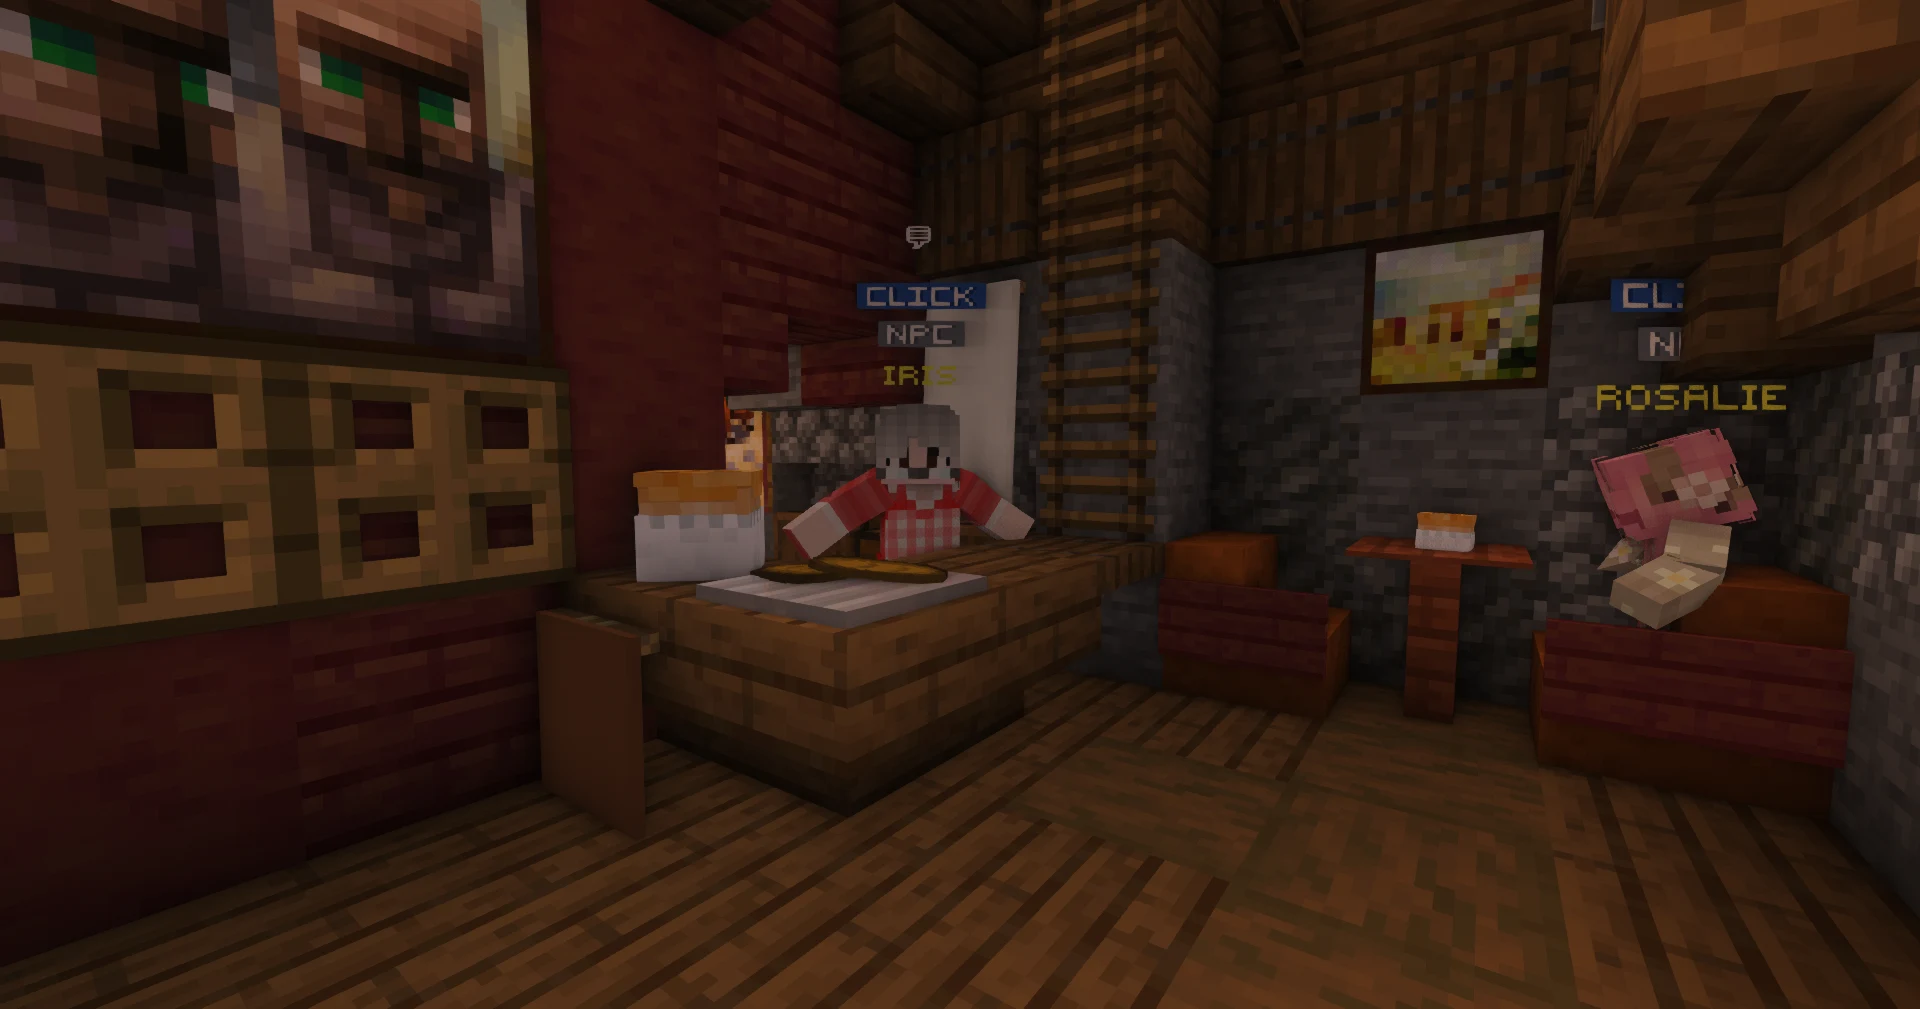
Iris has been wanting to thank you properly for keeping the town safe — most folk don't notice how much safer it feels now, but she does. She'll bake you a cake on the house, if you can cover the ingredients she's short on. When it's done, she sends an extra portion out to Alfred (who, predictably, is already hungry).
What to do:
- Bring Iris 10 wheat, 2 eggs, and 1 bucket of milk.
- Deliver the spare meal to Alfred outside.
Rewards: Super Cake · 1,600 Gold
Q17 · Path of the Explorer
Who & where: Alfred.
Over cake, Alfred says you remind him of his younger self — light on your feet, always curious, the kind of spirit that doesn't belong fenced in. Your feet are quick, but your road's still forming. Take the next step.
What to do: /rankup to Explorer, then return to Alfred. He points you to Vaise to learn how the Cove is built.
Rewards: 4,400 Gold · 30 Nectar · 1 Common Crate Key
Q18 · Builder's Grace
Who & where: Vaise, the town builder.
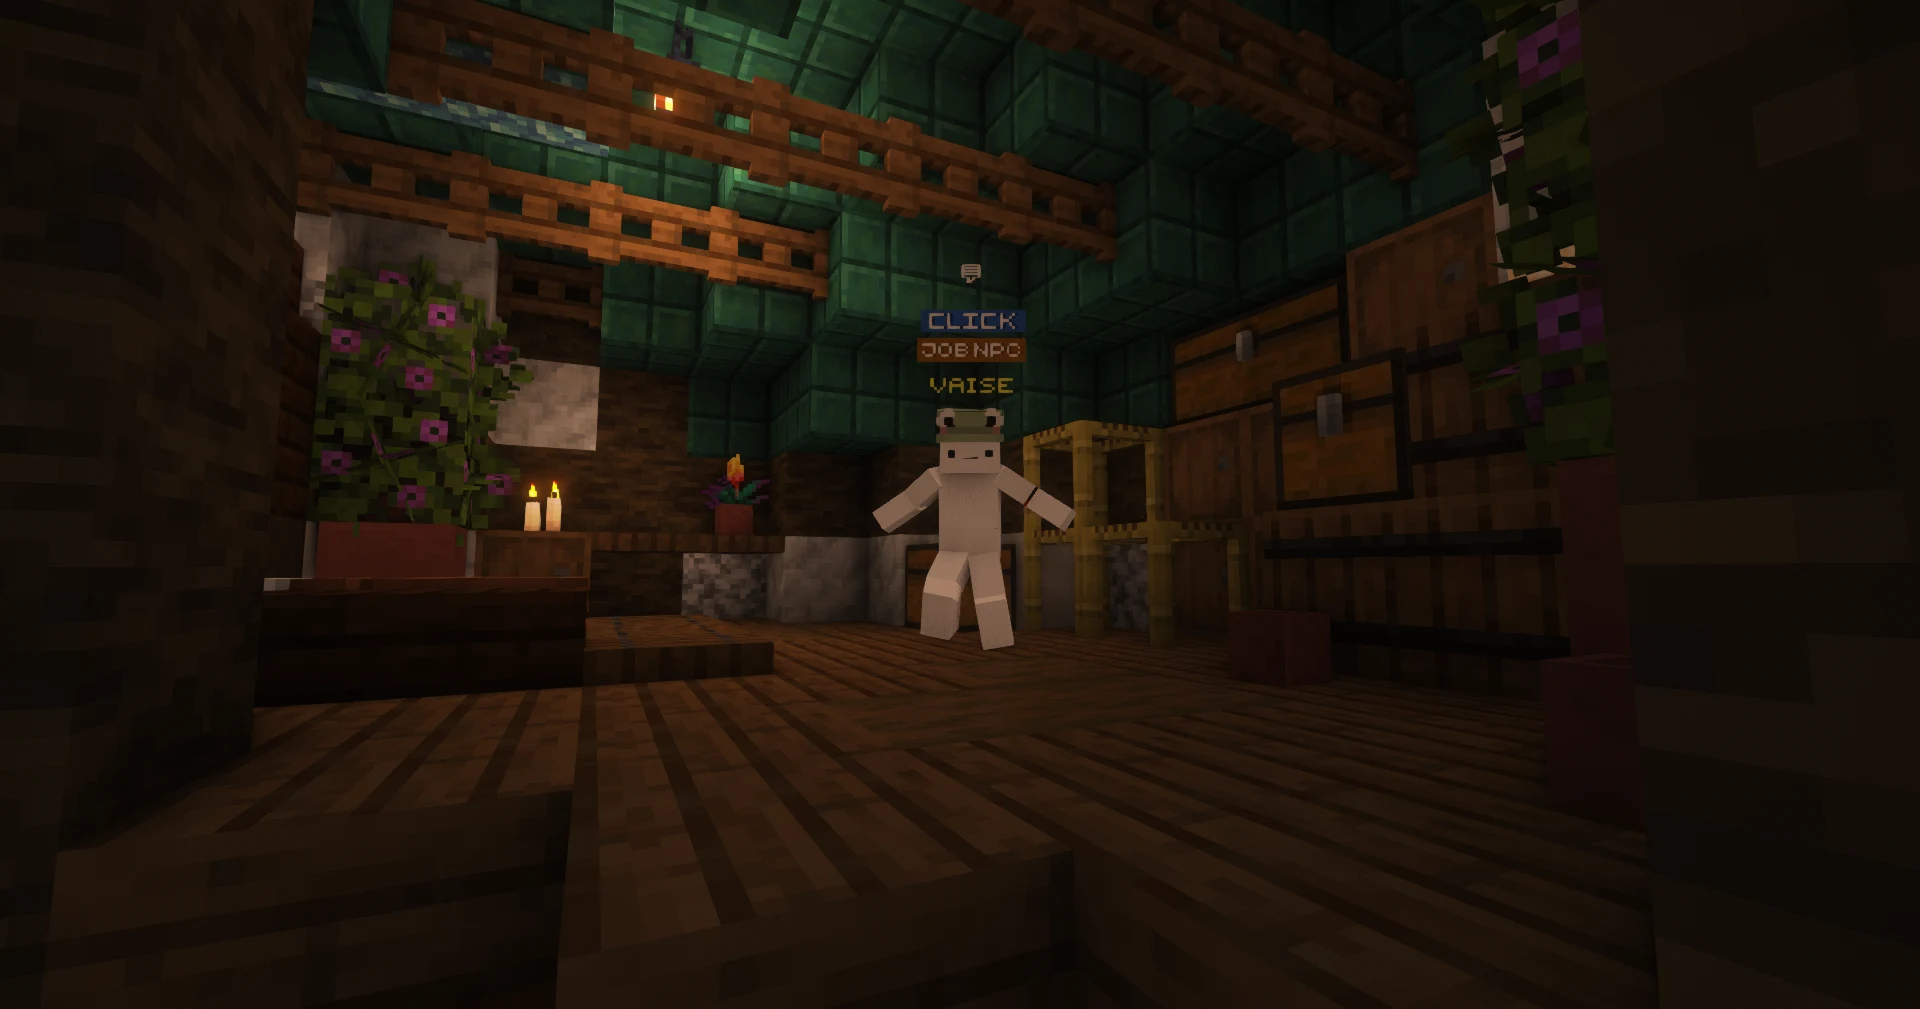
Vaise's family has kept the Cove's walls standing for generations — every wall rebuilt, reinforced, reshaped. "That's what keeps a place alive." The real proving ground is out in the mainland colonies, where travellers join forces and grow stronger. Your task is simple: leave something behind.
What to do: Place 250 blocks inside your claim — stone, wood, anything. It's not about what you build; it's proving you're willing to build at all.
Rewards: 2,000 Gold
Q19 · Angler's Peace
Who & where: Carlos, the fisherman, down at the docks. "If it swims in these waters, I'll reel it in."
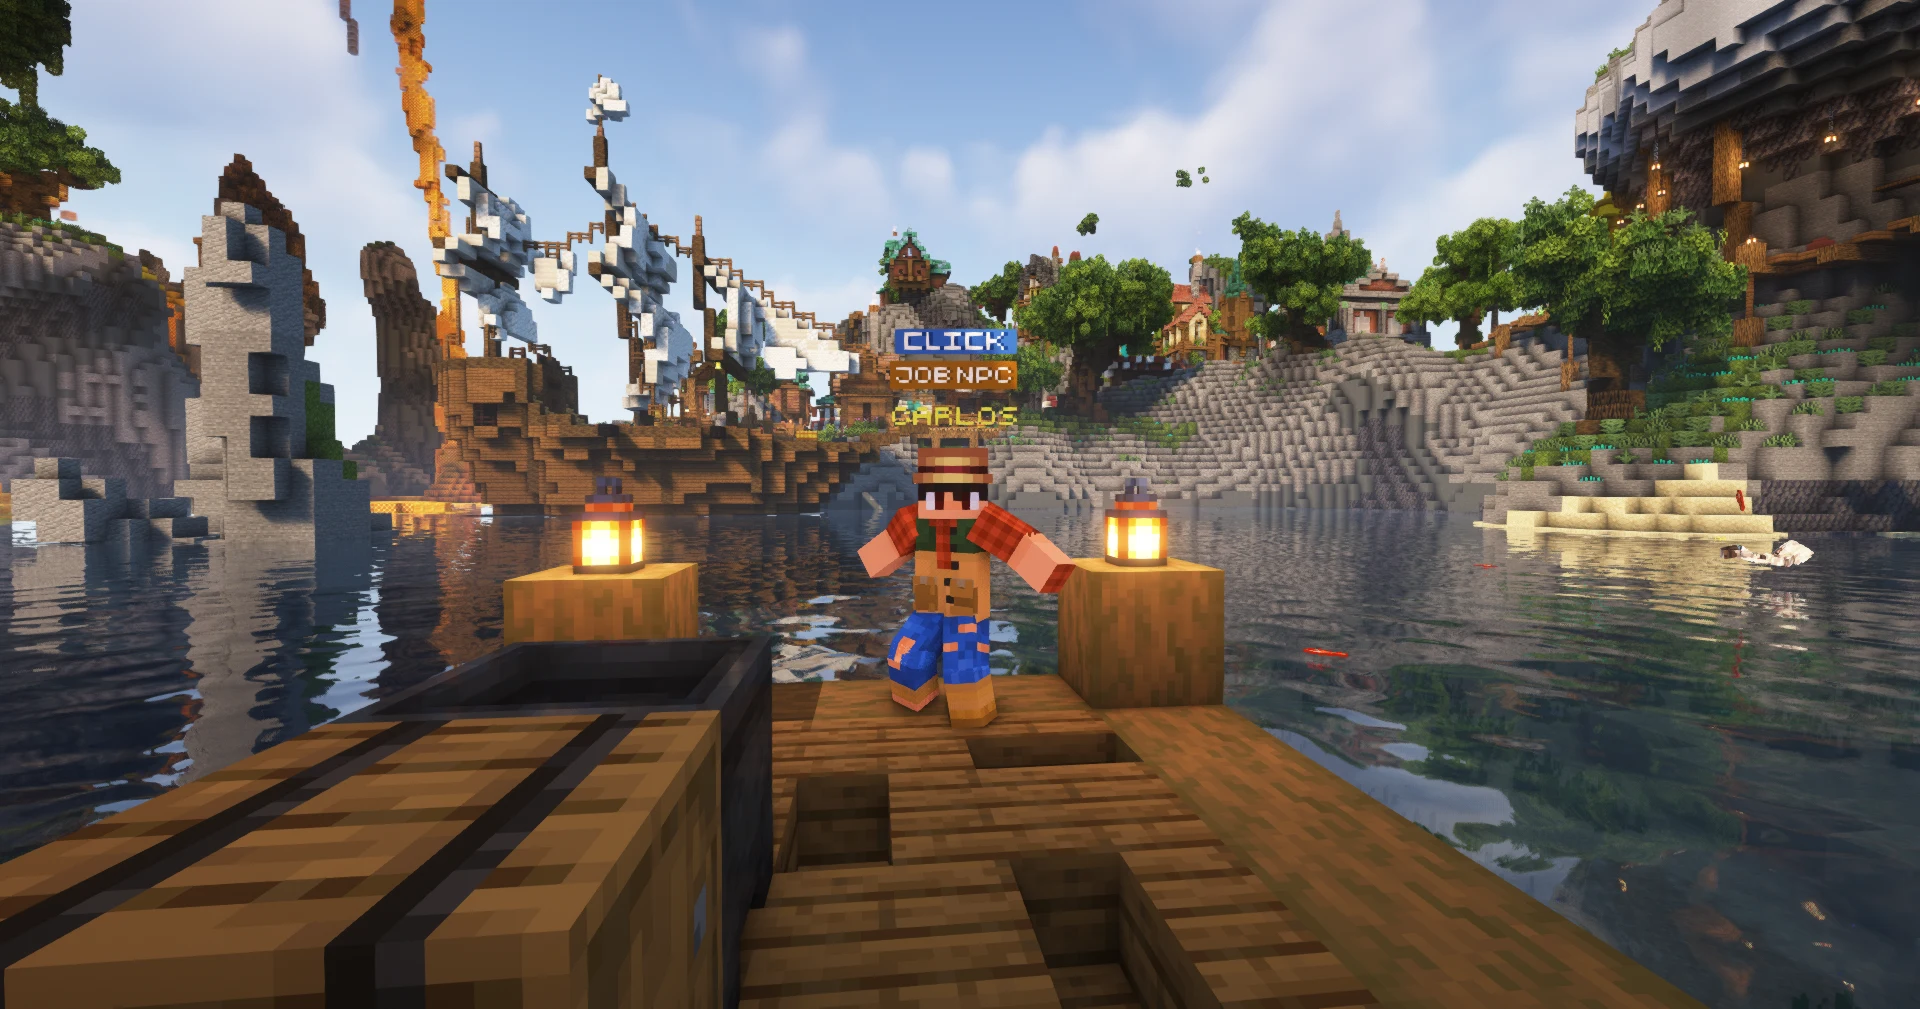
Not every battle is won with speed. Carlos teaches the strength found in patience — listening to the tide, watching the line. The hive hasn't claimed the sea; out here, the waves drown out the buzzing. Find your rhythm on the water and he'll show you what patience earns.
What to do: Catch 20 cod or salmon.
Rewards: Covecaster (a superior fishing rod) · 2,000 Gold
Feature: Fishing
Fishing levels your Fishing skill and pays out through your job. Better rods like the Old Rod and the Covecaster carry special properties that make catches easier and more valuable — patience genuinely pays here.
Q20 · Scholar's Request
Who & where: Jason. "My notes on Paradise Cove's history are scattered…"
Jason was studying outside when a giant bee swept past on its way to the hive and scattered his notes everywhere. He needs every detail to finish his chronicle — "one must know the past to avoid repeating its mistakes." Help him recover them.
What to do: Collect 5 scattered papers from around the Cove and return them to Jason.
Rewards: 2,200 Gold · 20 Nectar · Myra's Journal (see the Lore Codex below)
Q21 · Scholar's Analysis
Who & where: Felix, keeper of the Cove's secrets. (Talk to Jason, then Felix.)


The recovered notes contradict each other: journals from a founder named Myra say the giant hive has been here since the very beginning, against the story that the bees migrated in from nowhere. Jason wants answers; Felix is far more careful with them. He'll help — but only so far, and only to Jason, because "knowledge is power, and misused power is how we ended up in this mess." He trusts you with a parcel for Kieran.
What to do:
- Ask Felix about the hive's origins.
- Carry his parcel to Kieran.
Rewards: 2,400 Gold · 1 JartonCoin
Q22 · Truth Awakens
Who & where: Kieran. "You look troubled. What weighs on you?"
Kieran weighs Felix's caution against Jason's impatience and admits there's value in both — silence has its purpose, and so does knowledge. You came carrying questions, not chasing power, and that's the difference. He unwraps the parcel and hands you the lore book "Whispers Beneath the Wax." When the Tablet is finally uncovered, you'll understand why Felix was afraid. Read it, then speak to Silas.
What to do: Deliver the parcel, take the lore book, then go to Silas.
Rewards: "Whispers Beneath the Wax" (lore book) · 3,000 Gold
Q23 · The Weight of What Remains
Who & where: Silas. "Keiran told me you'd be stopping by."

You've seen enough that Silas won't hold anything back. Before the founders, before the Cove had walls, the Hen Ichaer — a nomadic clan sworn to walk the ley lines and mend places where balance faltered — forged The Tablet as a safeguard. For a time it brought peace. Then people pushed for more, and the rest "is not a story for here, or now." He gives you a worn key to the old excavations and sends you to Macrinus.
What to do: Hear Silas out, take the Skeleton Key, and find Macrinus at the mines.
Rewards: 1,900 Gold · 15 Nectar · Skeleton Key
Q24 · The Deep Dark — Chapter Finale
Who & where: Macrinus, at the mines.
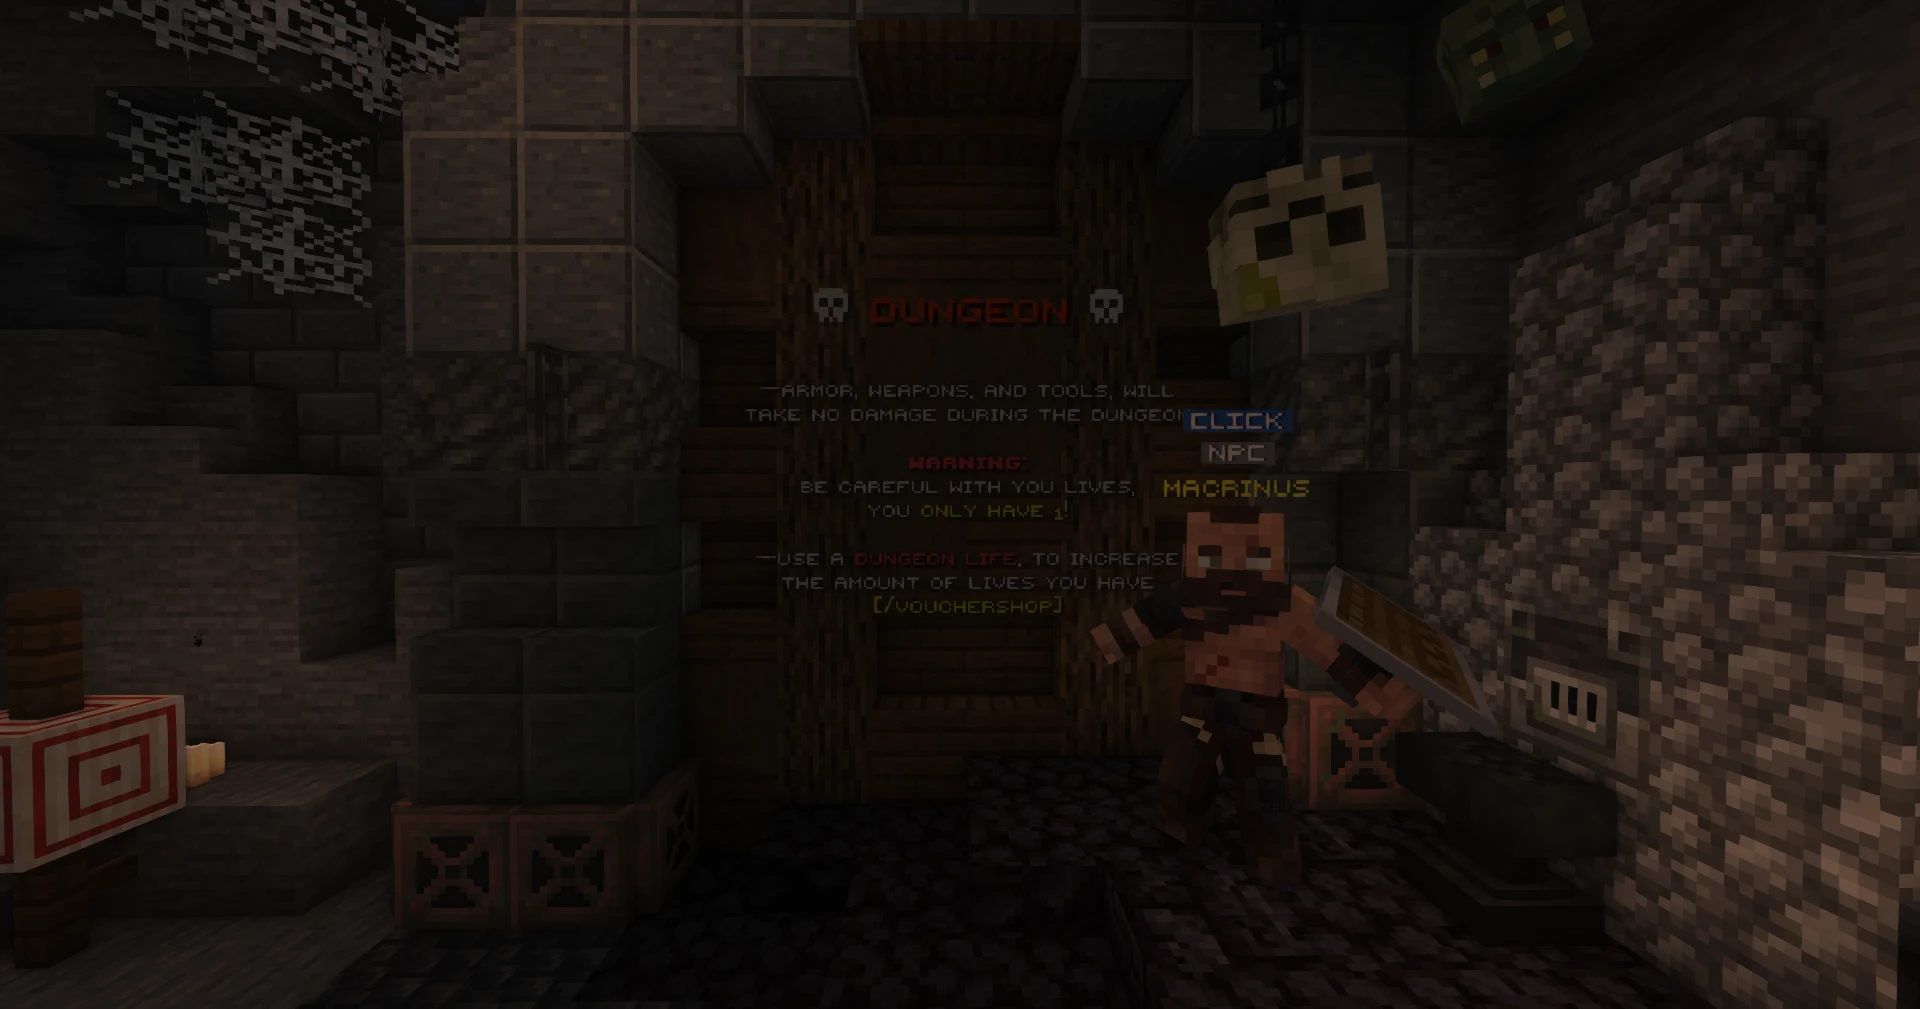
Macrinus fills in what Silas wouldn't. When greed and fear finally outweighed restraint, the Tablet didn't vanish — it shattered, and its fragments were stolen and sealed where no one would find them by accident. Beyond the wall lies the Abandoned Mining Site, once the backbone of the Cove's progress, now just shadows, echoes, and things that learned to live in them. The tunnels are wrong. The dust never settles. And something down there listens — a presence that commands the dark and bends the tunnels around itself. This is no simple monster hunt. If you're going to call yourself an Explorer, this is where the title earns its weight.
What to do:
- Enter the Abandoned Mine via
/dungeons. - Survive the depths, beat the boss, and recover the Core Fragment.
- Bring the Fragment back to Macrinus. (Check
/rewardsfor any unclaimed dungeon loot.)
Rewards: Chapter I Complete! · Ancient Fragment (lore artifact) · "When the Wax Could No Longer Hold" (lore book) · Abandoned Mines dungeon unlocked · 3,200 Gold · 35 Nectar · 1 JartonCoin
You are the watcher now
The Tablet won't stir until every fragment is found — and the others won't stay buried for long. Before the Tablet broke, the Hen Ichaer left a watcher to protect it and keep the balance. For now, that role falls to you. Rest. Greater trials lie ahead — but tonight, the Cove breathes easier because of you.
Lore Codex
Collectible in-game, gathered here for the curious.
"…The hive grows, but not as we once feared. Yet still… its reach is clever, patient. Folks say refinement is key — taming every comb, every cell — but I worry we push too far. Too much meddling, and the honey loses its strength. The bees are not ours to command entirely; they protect their own as fiercely as we try to protect them. I must remember: preservation first, refinement second… or all we build may crumble beneath our hands."
- Whispers Beneath the Wax — Kieran's gift after you prove yourself trustworthy. It teaches how the Cove remembers, and why some memories were deliberately buried.
- When the Wax Could No Longer Hold — recovered from the deep, sealed away with the first Tablet fragment.
What Comes Next — Chapter II (coming soon)
The story doesn't end at the mines. After Chapter I, play freely for a while and the next thread finds you. Octavius, the last scholar who still listens to the old world, uncovers an awakened scroll — and to reopen the path you'll have to seek out the Four Founders of the Cove and pass their trials:
- Cassian, the Gladiator — a trial of will, won in the Gladiator Arena.
- Myra, the Nectar Keeper — a trial of resourcefulness: place your own hive and refine Nectar.
- Kael, the Dragon Seeker — a trial of courage on the Isle of Ash.
- Liora, the Harvester — a trial of generosity: give freely to the community.
Full Chapter II walkthrough lands when it releases.